
Best bike saddle bag for tools shopping usually starts after one annoying ride: a rattling multi-tool, a tube that won’t fit, or a strap that loosens and drags on the tire. The good news is you don’t need a huge bag, you need the right shape, mounting method, and internal layout for the tools you actually carry.
This matters more than people think because a saddle bag sits in a high-vibration spot, gets sprayed with road grit, and often becomes your “set it and forget it” storage. If it’s even slightly unstable, you’ll hear it, feel it, or worse, watch it sag.
Below is a practical way to choose a saddle bag that stays tight, keeps tools quiet, and still opens fast on the roadside. I’ll also include a quick fit table, a packing checklist, and a few “don’t do this” mistakes that waste money.
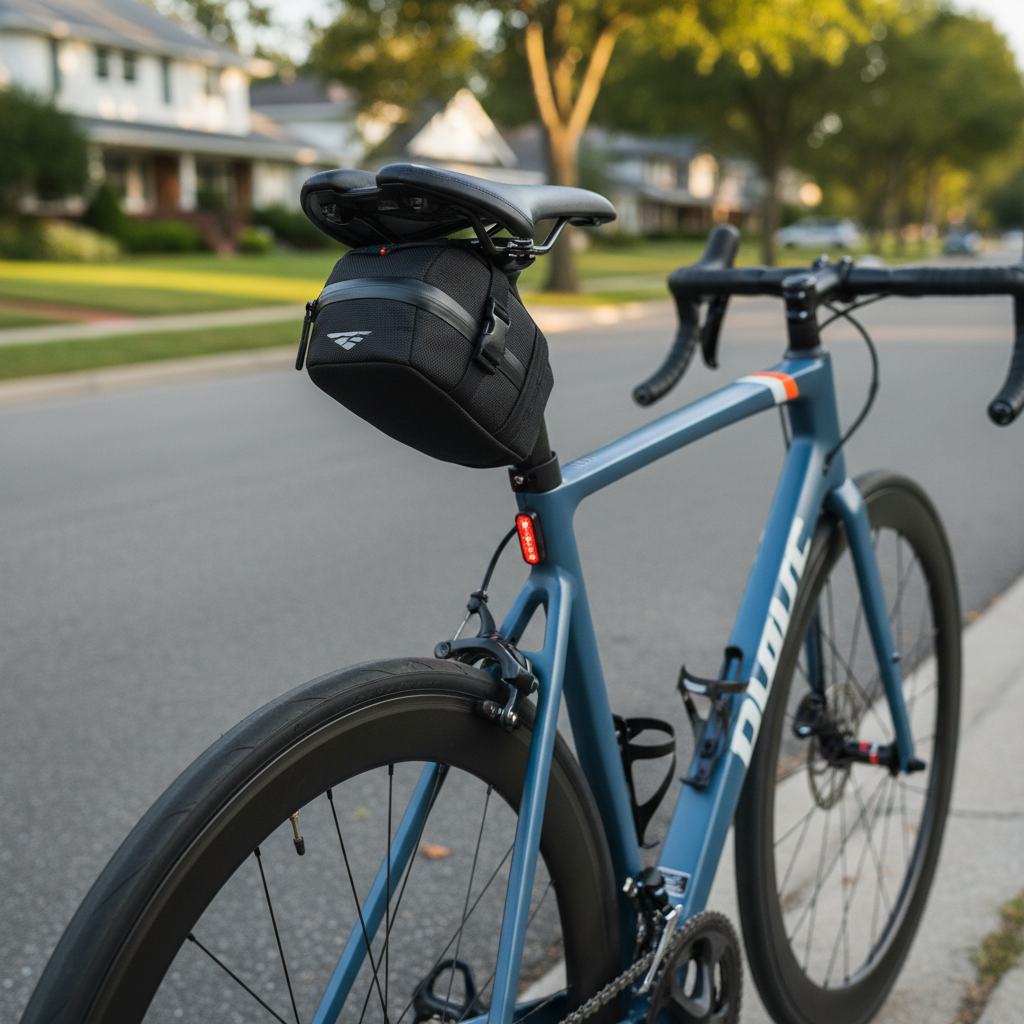
What makes a saddle bag great for tools (not just “stuff”)
A tool-focused saddle bag needs to do three things well: hold dense items without swinging, prevent rattles, and open in a way that doesn’t dump everything into dirt. Many general-purpose bags miss at least one.
- Stability under load: Tools are heavy for their size, so look for a stiffened base, a wide contact patch under the saddle, and a mount that doesn’t rely on one skinny strap.
- Rattle control: Internal sleeves, a divided pocket, or at least a snug main compartment keeps a multi-tool and CO2 from clacking.
- Weather and grime resistance: Water-resistant fabric plus a decent zipper garage matters, but also notice seam placement and how exposed the zipper is to spray.
- Roadside access: A zipper that opens wide, a clamshell design, or a pull-tab you can grab with gloves makes small repairs less miserable.
According to NHTSA, visibility and avoiding roadway hazards are key safety themes for people on bikes; practically, that translates to doing repairs quickly and keeping your setup secure so nothing falls into traffic. If your bag mount is questionable, it’s not just annoying, it’s a safety risk.
Quick sizing guide: match bag volume to your tool kit
Most people overbuy volume, then fill the empty space with random items that add noise and weight. Instead, start from your kit, then pick a bag that fits with a little compression.
| Typical kit | Suggested bag volume | Who it fits | Notes |
|---|---|---|---|
| 1 tube + 2 levers + mini tool | 0.3–0.6 L | Road riders, minimalist commuters | Best if you use a mini pump on frame or CO2 only |
| Tube + levers + tool + CO2 + plug kit | 0.6–1.0 L | Gravel, endurance road | Good balance of access and stability |
| 2 tubes or tube + patch kit + pump head + extras | 1.0–1.5 L | Longer rides, mixed terrain | Choose a stiffer bag to reduce sway |
| Heavier multitool + chain tool + quick link + spare parts | 1.2–2.0 L | Bikepacking day rides, e-bikes | Consider frame storage if your saddle rails are short |
If you run a dropper post on an MTB, clearance becomes the limiter, not volume. In that case a smaller, tighter bag often beats a medium bag that rubs the tire at full compression.
Mounting styles compared: straps, BOA/dial, and rail clamps
How a bag mounts is usually the difference between “silent for months” and “why is this squeaking again.” Here’s how they tend to behave in the real world.
Hook-and-loop straps (Velcro-style)
- Pros: Simple, widely compatible, easy to move between bikes.
- Cons: Can loosen with mud, wear out, or slip on slick saddle rails if the bag is heavy.
- Best for: Smaller tool kits, road and commuting.
BOA/dial retention
- Pros: Very stable for dense loads, fast micro-adjustment, tends to reduce sway.
- Cons: More expensive, parts compatibility varies by brand.
- Best for: Gravel and longer rides where you hate movement and noise.
Rail clamp / bracket systems
- Pros: Clean look, consistent mounting, often quick-release.
- Cons: Some brackets crack over time, and compatibility with carbon rails or unusual saddle designs can be tricky.
- Best for: Dedicated setups when the bag stays on one bike.
For a lot of riders, the “best bike saddle bag for tools” ends up being the one with the most stable mount, even if the fabric isn’t the fanciest. A quiet bag feels faster and less mentally draining on long rides.
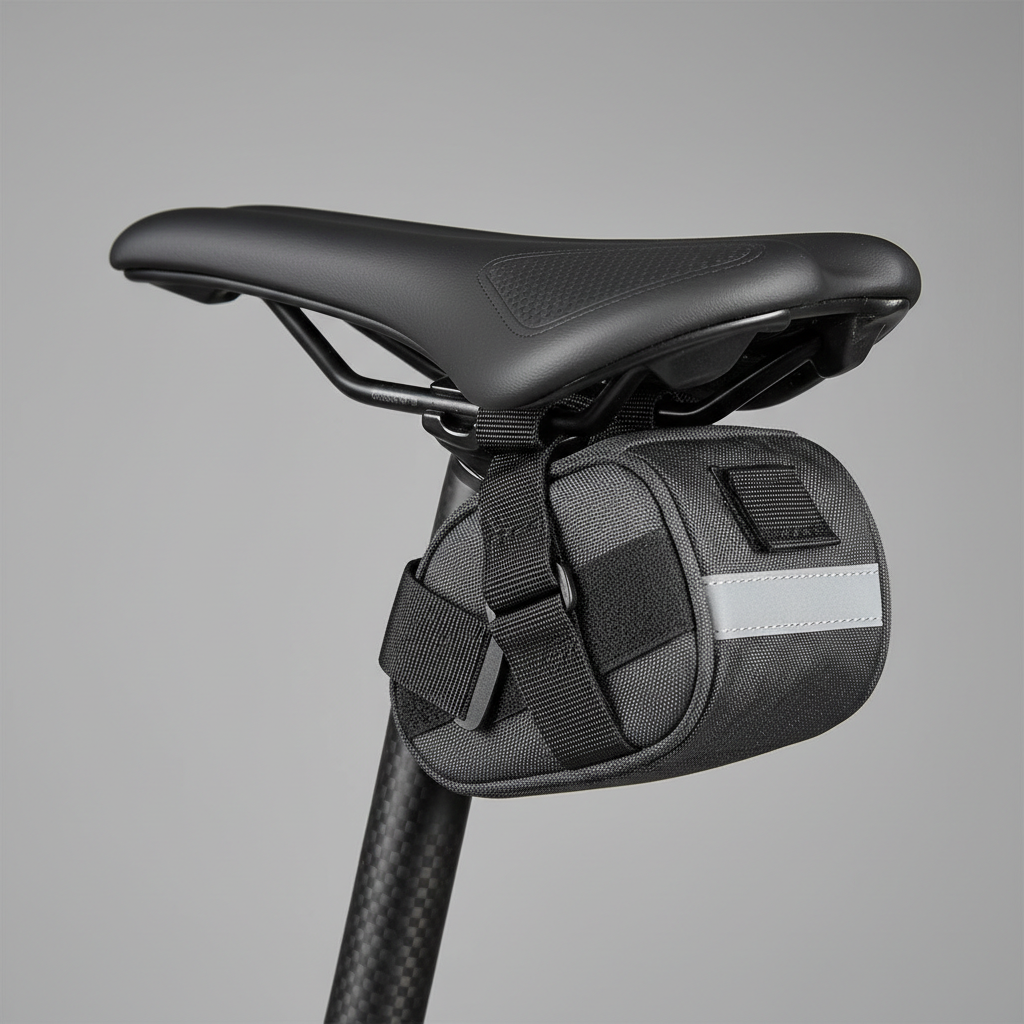
A fast self-check: which saddle bag type fits your riding?
Before you compare brands, decide what problem you’re solving. This quick check keeps you from buying a bag that looks right but behaves wrong.
- You mostly ride smooth pavement: Prioritize slim profile, strong zipper, and enough structure to stop tool rattle.
- You ride gravel or rough chipseal: Prioritize mount stability and internal organization. Loose items will find a way to annoy you.
- You ride MTB with a dropper: Prioritize tire clearance and short height. A smaller bag plus frame-mounted pump often works better.
- You ride in wet climates: Prioritize water-resistant fabric, covered zipper, and easy-to-clean interior.
- You swap bags between bikes: Straps win for compatibility, but pick wide, grippy straps and a stiff base.
If you’re unsure, choose the smallest volume that fits your core repair kit without forcing the zipper. Overstuffing is how zippers die early.
Recommended packing layouts that actually prevent rattling
Packing matters as much as the bag. Dense tools should sit closest to the saddle, softer items should buffer sharp edges, and CO2 should not bounce against a multi-tool.
Basic “get me home” layout (road/gravel)
- Inner tube: Wrap it around the tool bundle so it acts like padding.
- Multi-tool: Put it in an internal sleeve or the deepest corner.
- Tire levers: Flat against the bag wall, not loose on top.
- CO2 + inflator head: Keep together, ideally in a side sleeve.
Tubeless-focused layout
- Plug kit: Most accessible pocket, since punctures are the common stop.
- Valve core tool + spare core: Tiny items in a zip pocket so they don’t vanish.
- Small tire boot: Flat against the inner panel.
A small trick that works often: add a short strip of cloth tape or a thin pouch around metal-on-metal items. It’s not glamorous, but it’s quieter than buying a second bag.
How to choose the best bike saddle bag for tools in 2026
Materials and features don’t change dramatically year to year, but 2026 shopping tends to include more bikes with aero seatposts, smaller rear clearances, and riders who expect “no-rattle” out of the box. This is what I’d filter for.
- Internal organization: At least one sleeve or divider, otherwise your tool kit becomes a maraca.
- Structured shape: A semi-rigid panel or molded base helps tools sit stable and protects the zipper line.
- Zipper quality: Large pulls, smooth track, and a design that doesn’t sit directly in tire spray.
- Reflective details: Not a substitute for lights, but helpful. According to CDC, visibility and traffic awareness are major factors in preventing crashes, so any passive visibility is a plus.
- Clearance measurement: Measure saddle-to-tire space at the tightest point. If you use suspension or a dropper, measure at full compression too.
One more: don’t ignore how the bag looks when it’s half full. Some bags hold shape only when stuffed, and that’s when sway starts.
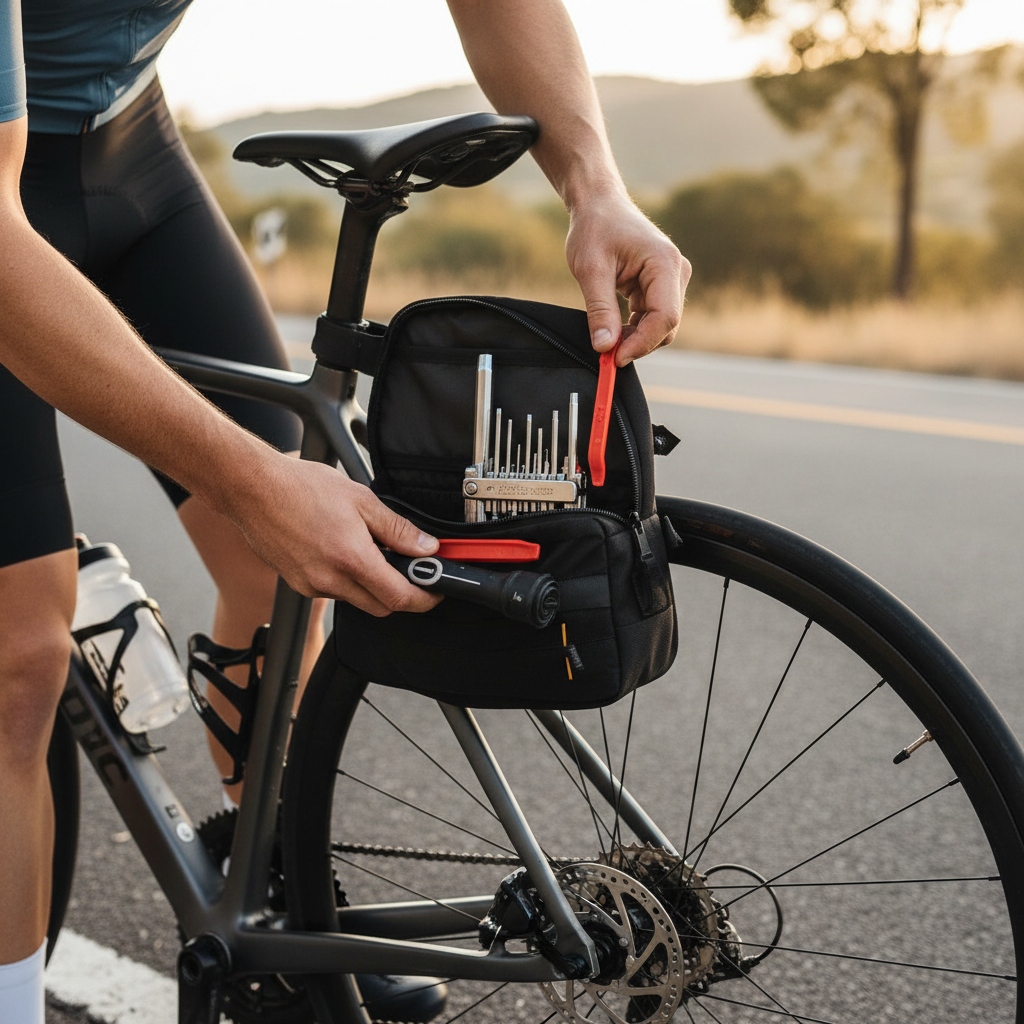
Step-by-step: install it so it doesn’t sag or rub
Even a great bag can rub the tire if it’s mounted casually. Give it two minutes and you avoid weeks of tiny frustration.
- Clean contact points: Wipe saddle rails and the bag’s strap path so grit doesn’t help straps creep loose.
- Center the bag: Align under the saddle nose-to-rear, then tighten rails first, seatpost strap second.
- Load it, then re-tighten: Tools change the shape. Tighten again after packing.
- Check tire clearance: Spin the wheel, then press down on the saddle to simulate bumps. For MTBs, check at full suspension compression if possible.
- Trim strap tails: If the design allows, tuck or secure loose ends so they can’t touch the wheel.
If you hear squeaking, it’s often strap friction on the saddle rails. A small protective wrap (or a different strap routing) usually fixes it.
Mistakes that make any saddle bag feel “bad”
Some issues get blamed on the product but are really setup or expectation mismatches.
- Buying by volume only: A 1L bag can be worse than 0.6L if the larger bag swings.
- Letting tools float: No organizer means constant noise and faster fabric wear.
- Overstuffing: Zippers fail early, and the bag shape pushes downward toward the tire.
- Ignoring saddle rail type: Some carbon rails and oversized rails don’t play nicely with certain straps or clamps, check compatibility first.
- Assuming “waterproof” means “submersible”: Many bags are water-resistant, not sealed like a dry bag, add a small zip pouch for your ID and cash if you ride in heavy rain.
When it’s worth getting help or switching storage
If you keep losing clearance, rubbing the rear tire, or you’re riding technical MTB trails, a saddle bag might simply be the wrong tool. Frame storage, a tool bottle in a cage, or bar-end storage can be safer and quieter in many setups.
If your bike has unusual seatpost shapes, integrated lights, or proprietary saddles, a local bike shop can usually confirm fit quickly and suggest an alternative mount. And if you’re unsure about safe clearance around the wheel, it’s smart to ask a mechanic, because a bag-to-tire contact can cause a crash in the wrong moment.
Conclusion: a “tool-first” saddle bag should feel invisible
The best bike saddle bag for tools is the one you stop thinking about mid-ride: it stays tight, opens cleanly, and keeps the kit quiet. Pick the smallest volume that fits your essentials, prioritize a stable mount, then pack so metal items can’t knock together.
If you want a simple next step, do this: write down your exact tool list, measure your saddle-to-tire clearance, then choose a bag volume from the table and a mount style that matches your terrain.