
Best cycling headwear for sun protection usually comes down to three things you can actually feel on the road: how well it blocks UV, how it manages sweat, and whether it stays comfortable under a helmet for hours. If your forehead burns, your scalp gets cooked through vents, or sunscreen keeps dripping into your eyes, headwear is often the missing piece.
It matters more than people think because cycling stacks exposure in a sneaky way, long duration, reflective surfaces like asphalt, and wind that dries sweat (and sometimes makes you forget you’re getting fried). According to CDC, protecting skin from UV helps reduce skin cancer risk, and shade plus protective clothing are core recommendations.
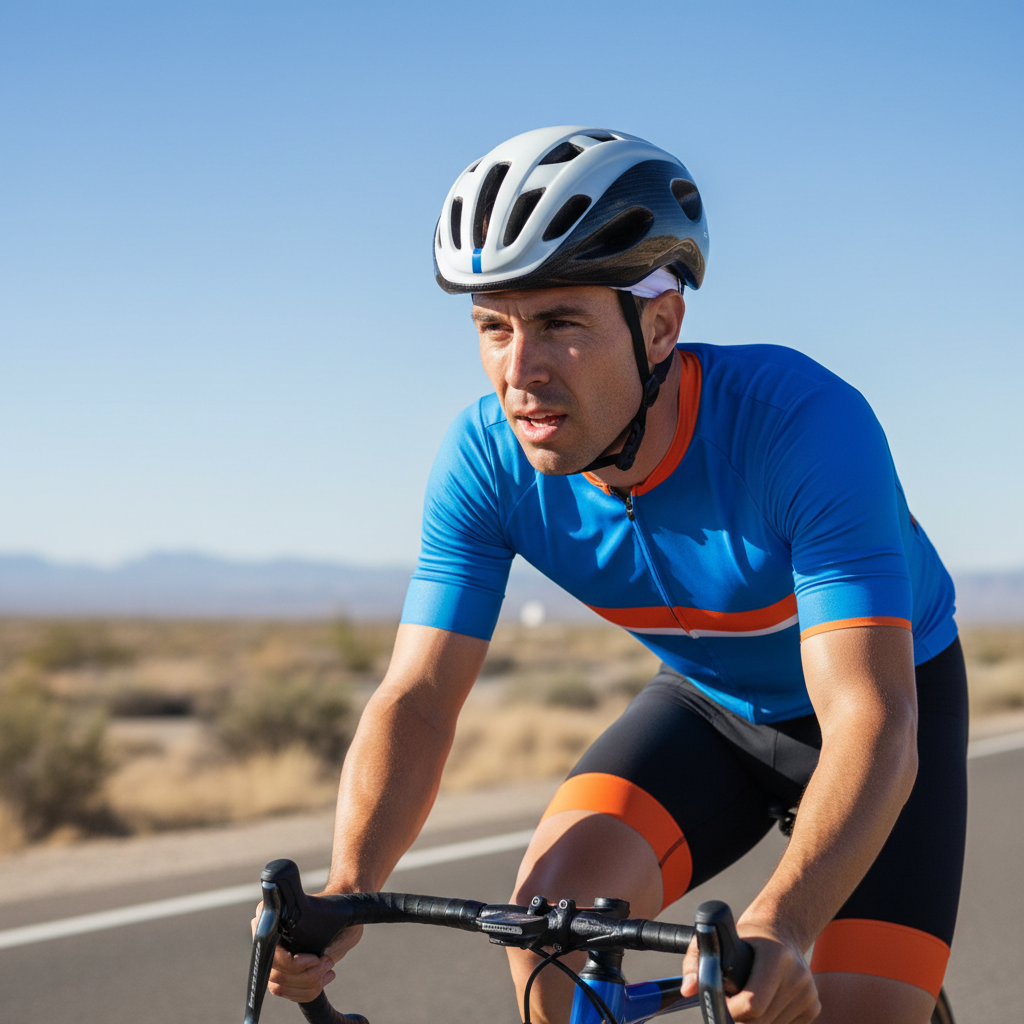
This guide helps you choose sun-safe cycling headwear without overbuying, pick the right style for your climate, and avoid the common mistakes that make “UV gear” feel hot and pointless.
What sun-protection headwear actually does (and what it can’t)
Sun headwear works in a few practical ways: it adds a physical barrier, reduces direct scalp and forehead exposure, and can improve comfort so you don’t rely on constantly reapplying sunscreen mid-ride.
- Coverage matters: brim, ear/neck panels, and fabric area often beat fancy marketing.
- UPF is the clothing equivalent of SPF, it tells you how much UV gets through the fabric.
- Evaporative cooling can help, but not if the fabric traps heat under your helmet.
What it can’t do is replace all UV strategy. You still may need sunscreen on exposed skin, and you still need hydration and heat management when temps climb.
Key features to look for when buying cycling sun headwear
If you’re comparing options, look past “summer” labels and check the details that change comfort on a long ride.
UPF rating and fabric density
A UPF label is a strong signal because it’s tested, while vague “UV blocking” claims can be all over the place. According to the Skin Cancer Foundation, UPF-rated clothing offers effective UV protection, and tighter weaves or special treatments reduce penetration.
- Good baseline: UPF 30+ for frequent riding, UPF 50+ for high sun, high altitude, or very fair skin.
- Watch for thin, stretched fabric: it can let more UV through and feel “cool” but protect less.
Helmet compatibility (the comfort deal-breaker)
Most “best cycling headwear for sun protection” choices fail when seams rub, the crown bunches, or the brim pushes your helmet up. Look for flatlock seams, low-profile panels, and enough stretch to sit smooth.
Sweat control: wicking, not just “breathable”
Breathable is vague, wicking is specific. A good sweatband or interior liner keeps sweat out of eyes and helps prevent sunscreen from migrating downward.
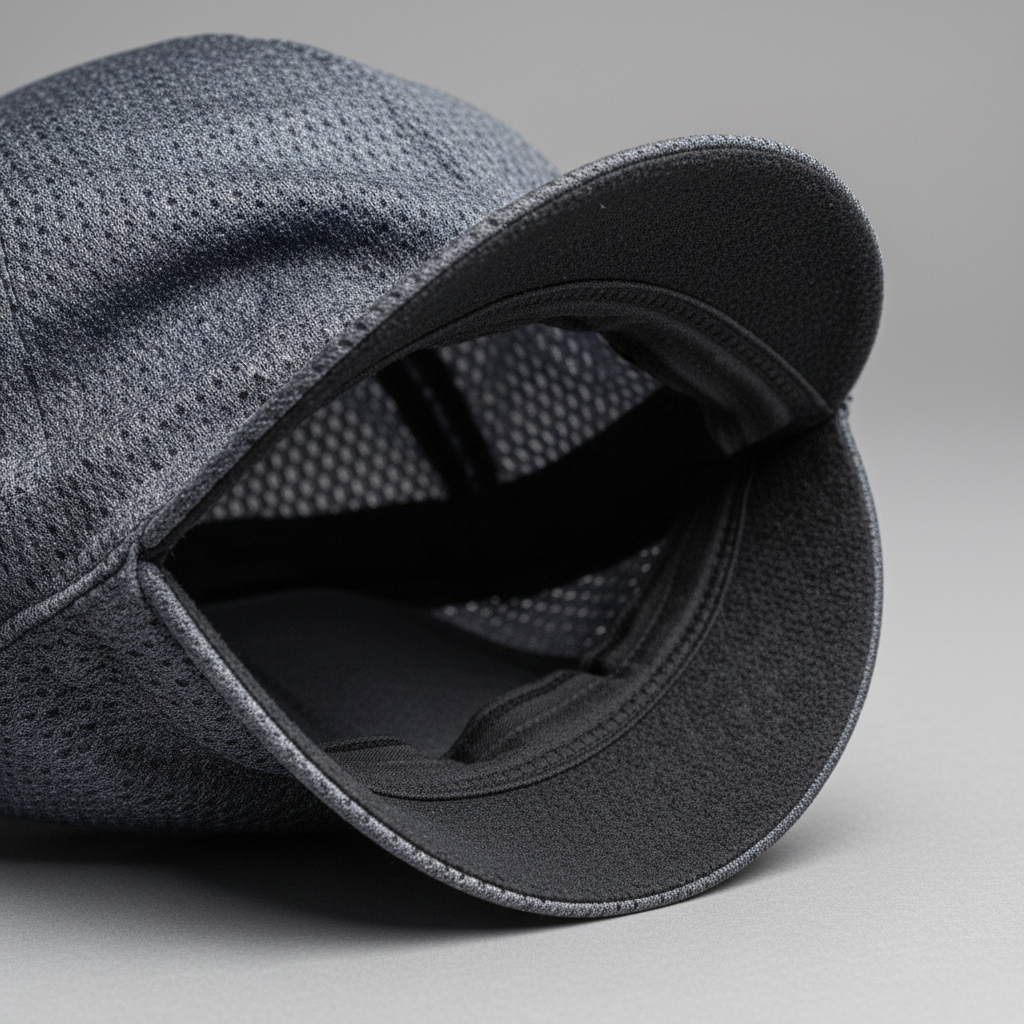
Brim and glare management
A small brim can do a lot: it shades eyes, reduces squinting, and helps on bright climbs. For very intense glare, some riders pair a brimmed cap with sunglasses that have good wrap and lens coverage.
Neck and ear coverage for “always burning” zones
If the back of your neck is the first spot to turn red, consider a cap with a cape, a buff worn as a neck gaiter, or a lightweight sun hoodie. The right choice depends on heat and humidity, not just UV.
Quick comparison: which style fits your rides?
Use this table as a starting point, then match it to your local weather and how long you stay out.
| Headwear type | Best for | Strengths | Trade-offs |
|---|---|---|---|
| Cycling cap (short brim) | Road rides, moderate heat | Helmet-friendly, glare control, sweat band | Limited neck coverage |
| UPF skull cap / liner | Hot rides, heavy sweaters | Low bulk, good wicking, protects scalp through vents | No brim, forehead still exposed |
| Buff / neck gaiter (UPF) | Variable conditions, multi-use | Flexible coverage for neck/ears, packs small | Can feel warm in humidity if worn high |
| Cap with neck flap | Desert sun, long gravel days | Great neck protection, strong coverage | More fabric under helmet, can trap heat |
| Sun hoodie (hood under helmet) | All-day exposure, very high UV | Neck + ears + shoulders protection | Fit can be finicky, layering heat risk |
A self-check: what problem are you really trying to solve?
Buying headwear gets easier when you name the pain point. Pick the closest match.
- My scalp burns through helmet vents: choose a UPF skull cap or a very thin UPF liner that covers the crown.
- My forehead and nose get roasted: add a cycling cap with a brim, and consider a sweatband that stays put.
- My neck always gets hit: prioritize a buff, sun hoodie, or a cap with a cape for long midday rides.
- I overheat easily: focus on wicking fabrics, minimal seams, and lighter colors, and avoid bulky flaps in humid weather.
- Sunscreen runs into my eyes: look for a stronger internal sweatband and better evaporation, plus a brim to reduce dripping.
How to choose the best cycling headwear for sun protection (by scenario)
Here’s the part most shopping guides skip: the “best” option changes a lot by region and ride style.
Hot and humid (Gulf Coast, Midwest summers)
- Pick a low-profile UPF liner with strong wicking and fast dry time.
- Keep coverage targeted: brim for face, minimal extra layers on neck unless you truly need it.
- Favor lighter colors, dark fabric can feel hotter in direct sun, even if both are UPF-rated.
Hot and dry (Southwest, high desert)
- Consider a cap with neck protection or a buff you can wet for evaporative cooling.
- UPF 50+ becomes more valuable here because exposure feels relentless and shade is scarce.
- Bring a spare: dry climates can salt-stiffen a cap fast if you sweat a lot.
High altitude sun (mountain climbs, thin air)
UV intensity often increases with altitude, so a higher UPF and better coverage can be worth the slight warmth. According to the EPA, UV levels can be higher at elevated altitudes and near reflective surfaces like snow or water.
- Use a brimmed cap for glare and a UPF liner for scalp coverage.
- Don’t forget ears, they’re easy to miss and hard to “fix” after a burn.
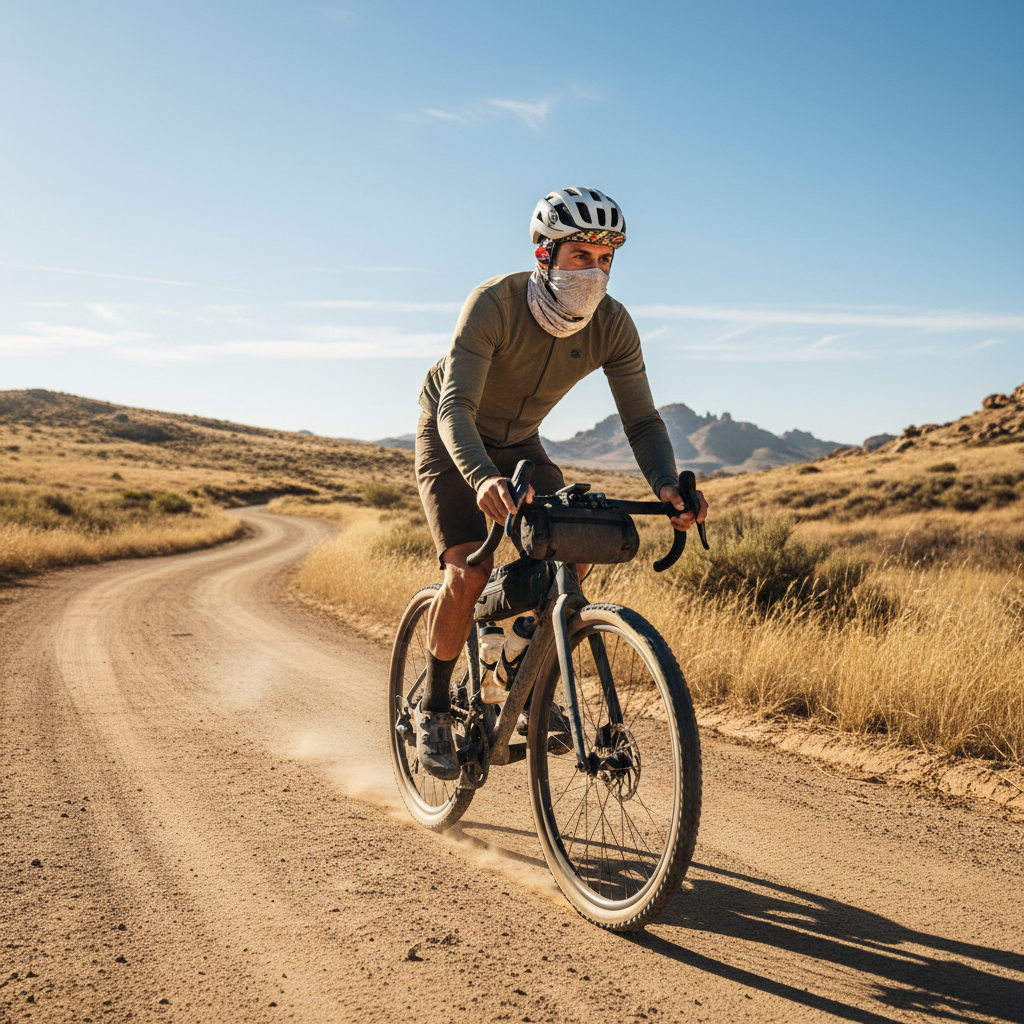
Long rides where reapplying sunscreen is annoying
- Combine a brimmed cap with a sweatband, and add neck coverage if you finish rides with a “red collar.”
- Choose fabrics that stay comfortable when damp, otherwise you’ll rip it off halfway through.
Practical setup tips: make headwear work with sunscreen, helmet, and sunglasses
Small adjustments make the difference between “this is great” and “why is my head itchy.”
- Put headwear on first, then set helmet fit, not the other way around. A cap can change how your retention system sits.
- Use sunscreen strategically: apply on exposed skin, not under fabric. If you use chemical sunscreen, let it dry before pulling on a liner to reduce irritation.
- Mind sunglasses arms: thick seams near temples can create pressure points, smooth side panels help.
- Carry a backup on big days. A second cap or buff can feel like a luxury until the first one gets salt-crusty.
If you have a history of heat illness, skin conditions, or unusual reactions to fabrics or sunscreens, it’s smart to ask a clinician for personalized guidance.
Common mistakes (what wastes money and still gets you burned)
- Assuming “thin” equals cool: ultra-thin material can protect less if it stretches or turns see-through in bright sun.
- Buying for looks, not helmet fit: a great cap that bunches under your helmet becomes a drawer item fast.
- Ignoring neck and ears: many riders protect face and forget the spots that burn every weekend.
- Over-layering in heat: more coverage can be safer for UV, but it can raise overheating risk, pick breathable pieces and adjust for conditions.
Key takeaways and a simple buying checklist
If you want one quick way to shop, use this checklist and you’ll usually land on something that works.
- Start with the problem: scalp, face, sweat, neck, or all-day exposure.
- Look for UPF labeling when possible, especially for long summer rides.
- Prioritize helmet comfort: flat seams, low profile, no hot spots.
- Choose the right style: brim for glare, gaiter for neck, liner for vents.
- Test on a short ride before committing to an all-day event.
Action step: pick one headwear style that matches your most common ride conditions, then add a second piece only if a specific burn zone keeps showing up. That’s usually a better path than trying to find one “do everything” item.