
Best cycling shoes for spin class usually come down to three things you feel right away: stable cleat engagement, a fit that doesn’t numb your toes, and enough ventilation to survive a sweaty studio. If your feet slide, your knees drift, or you constantly re-tighten straps mid-ride, your shoes (or the setup) may be the real issue, not your fitness.
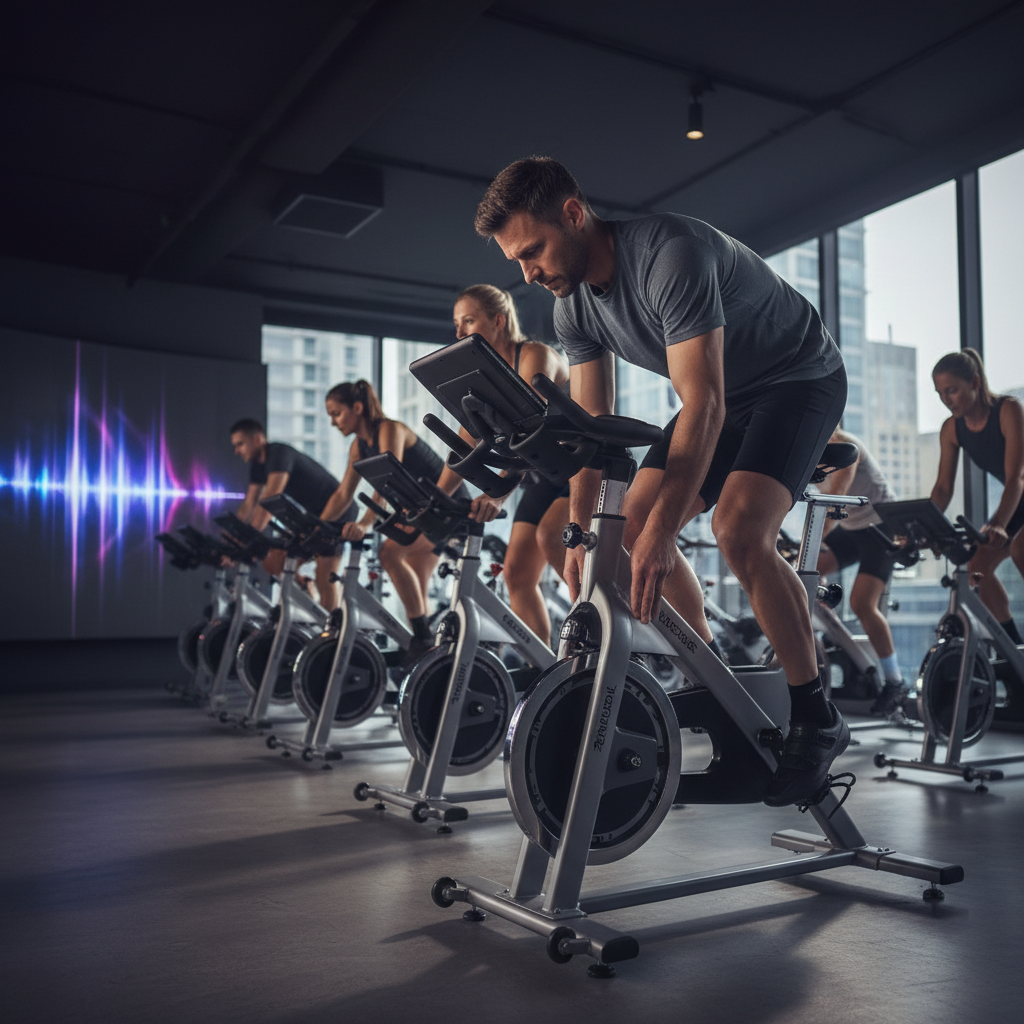
Spin studios add a few twists compared with outdoor cycling: you clip in and out more often, you may share bikes, and you’re riding in heat with little airflow. The “perfect” road shoe can feel miserable in a dark room at 90°F, and a comfy sneaker can leave you fighting the pedals all class.
This guide focuses on how to choose shoes that work in most U.S. studios, how to match them to your pedals, and how to avoid the common mistakes that lead to hot spots, knee irritation, or clipped-in panic. I’ll also include a quick comparison table and a practical setup checklist so you can make a decision without overthinking it.
What makes a spin-class shoe “good” (and what doesn’t)
In a studio, comfort and reliability beat “race-stiff” bragging rights. A shoe can be high-end and still be a bad spin-class match if it’s hard to walk in, impossible to adjust, or incompatible with the pedals your studio uses.
- Secure closure: Velcro works, BOA-style dials feel more precise, and ratchets vary. The best option is the one you can tighten evenly without cutting off circulation.
- Moderate-to-stiff sole: Too soft wastes effort and can create pressure points; too stiff can feel harsh in a high-cadence class. Many riders like a “mid-stiff” nylon or composite sole for spin.
- Breathable upper: Studios run hot. Mesh panels and perforations matter more than people think.
- Walkability: You’re walking from the locker area to the bike. Recessed cleats (two-bolt systems) tend to be less slippery than protruding road cleats.
- Easy cleat compatibility: This is huge, because not all studio bikes use the same pedals.
According to the American Academy of Orthopaedic Surgeons (AAOS), overuse injuries are often linked to training errors and biomechanics; in cycling, shoe fit and cleat position can be part of that bigger picture. If you feel sharp pain (not normal workout burn), it’s worth taking seriously and adjusting early.
Pedal and cleat compatibility: the part people get wrong
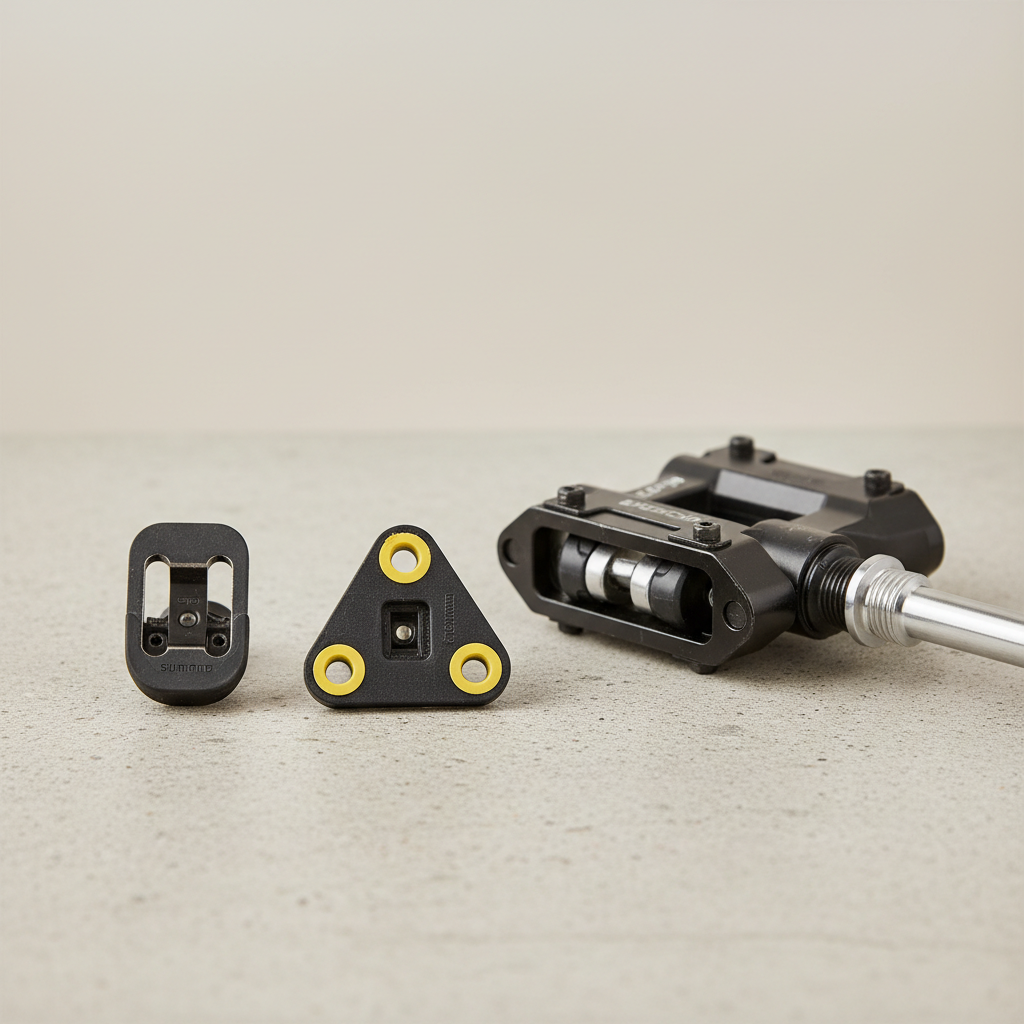
Before you buy anything, figure out what your studio bikes accept. Many spin bikes in the U.S. use pedals that work with two-bolt SPD cleats, some use three-bolt Look Delta, and plenty are dual-sided (one side SPD, the other Delta). Staff can usually tell you in 10 seconds.
Quick compatibility cheat sheet
- SPD (2-bolt): Common in gyms, easier to walk, cleat sits recessed in many shoes.
- Look Delta (3-bolt): Very common in boutique studios, larger cleat, more “locked-in” feel for some riders.
- SPD-SL (3-bolt road): Less common for spin bikes, more common outdoors.
If your studio uses Look Delta and you buy an SPD-only shoe, you’ll be stuck. The reverse also happens. When in doubt, either (1) confirm the pedal model, or (2) pick a shoe that accepts both 2-bolt and 3-bolt patterns if you want flexibility.
Comparison table: what to look for by rider type
There isn’t one “winner” shoe for everyone. The best cycling shoes for spin class depend on your foot shape, how often you ride, and whether you value walkability or a firmer platform.
| Rider situation | What to prioritize | Usually works well | Watch out for |
|---|---|---|---|
| New to spin, 1–2x/week | Comfort, easy adjustments | Roomier toe box, Velcro or single dial | Too-stiff soles, narrow “race” lasts |
| Regular rider, 3–5x/week | Fit precision, durability | Dual-closure (dial + strap), replaceable heel pads | Hot spots from overtightening |
| Sweaty/hot studios | Ventilation, quick dry | Mesh-heavy uppers, perforated synthetic | Non-breathable uppers that trap heat |
| Knee sensitivity | Stable cleat interface | Stiffer midsole, careful cleat setup | Random cleat position “close enough” |
| Commute to studio / lots of walking | Walkability, grip | 2-bolt recessed cleat shoes | Slippery exposed road cleats |
Fit matters more than brand: a practical checklist
If you’re chasing the best cycling shoes for spin class, start with fit like you would with running shoes. The wrong shape can’t be “dialed in” with a fancier closure.
- Toe room: You want a little space to wiggle toes, especially when feet swell during hard efforts.
- Heel hold: Heel should feel planted when you pull up at higher cadence, without rubbing.
- No pressure ridges: If you feel one strap digging in, it usually gets worse 20 minutes in.
- Sock realism: Try shoes with the socks you actually wear to class.
- Width options: If you’re between sizes or often feel numbness, look for wide versions or naturally roomier lasts.
Key point: numb toes are often from pressure across the forefoot, not “weak feet.” Loosening the front closure slightly and tightening nearer the ankle can help, but a better-shaped shoe often fixes it faster.
How to set up cleats for spin (without getting lost)
Cleat setup sounds nerdy until your knees start complaining. You don’t need a lab; you need a repeatable baseline and small changes.
Baseline setup most riders tolerate
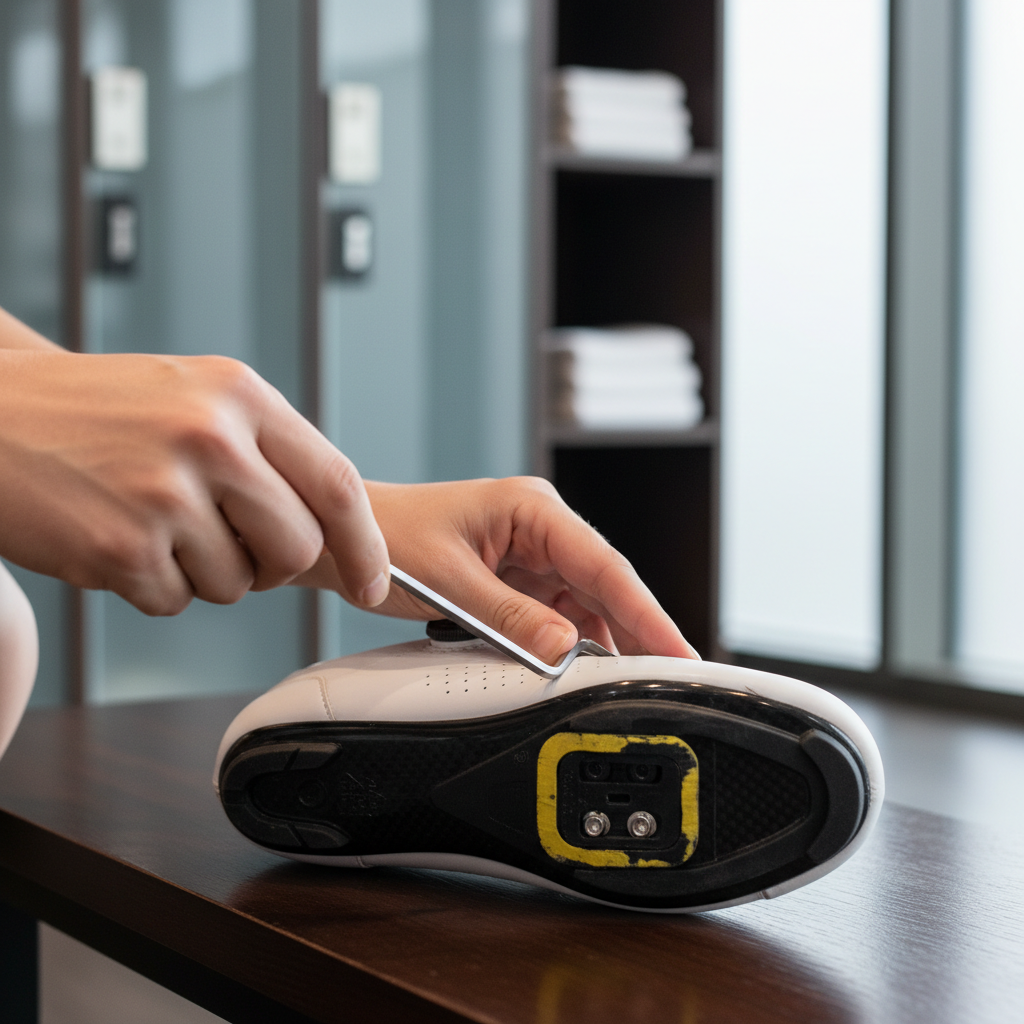
- Fore-aft: Place the cleat so the ball of your foot sits roughly over the pedal axle, many riders end up slightly behind this point for comfort.
- Angle: Start neutral so your feet point naturally, don’t force “perfectly straight” if your stance is slightly toe-out.
- Side-to-side: Keep feet from rubbing the crank, but don’t shove cleats all the way inward unless you know why.
According to the International Bike Fitting Institute (IBFI), small cleat adjustments can meaningfully change joint tracking, so it’s smart to change one variable at a time, then ride a class or two before touching it again.
A simple “two-ride” tuning method
- Ride 1: set baseline, take mental notes at minutes 10, 25, and during out-of-saddle work.
- Ride 2: if discomfort repeats in the same spot, adjust only fore-aft or angle, not both.
- Mark your starting position with a thin paint pen or tape so you can always return.
Buying advice: features worth paying for vs. marketing fluff
Most people overspend on stiffness and underspend on fit and ventilation. If you ride frequently, spending a bit more can make sense, but only when the upgrade matches how you actually ride.
Worth paying for (in many cases)
- Better closure: A dial system can fine-tune tension during class, especially when feet swell.
- Replaceable parts: Heel pads and hardware matter if you walk on concrete a lot.
- Ventilation: You can’t “train” your way out of a shoe that feels like a sauna.
- Compatible cleat mounts: Dual 2-bolt/3-bolt mounting keeps you flexible across studios.
Often overhyped for spin
- Ultra-carbon race soles: Great outdoors, sometimes overkill indoors unless you already know you like that feel.
- Marginal weight savings: In a studio, you won’t feel it like you might on climbs.
- Extreme aero styling: Looks cool, rarely changes your class experience.
Common mistakes that ruin otherwise good shoes
Even the best cycling shoes for spin class can feel wrong if setup or expectations are off. These are the repeat offenders.
- Overtightening to “feel secure”: Secure should feel stable, not like a blood pressure cuff.
- Cleats too far forward: Can increase calf fatigue and forefoot pressure for some riders.
- Ignoring pedal tension: Many spin bikes let you adjust clip-in/clip-out tension, if clipping out feels scary, ask staff to lower it.
- Using worn cleats: Rounded edges can make engagement sloppy, and that can feel unsafe.
- Skipping a quick bolt check: Cleat bolts loosen over time, especially with lots of clipping in and out.
Quick key takeaways: confirm pedal type, buy for fit first, start cleat setup simple, then make tiny changes. That alone solves most “my shoes feel terrible” complaints.
When to get help (and what kind of help)
If you feel persistent knee pain, numbness that lasts after class, or sharp foot pain that repeats every ride, it’s reasonable to pause and troubleshoot instead of pushing through. Many studios can help with pedal tension and basic positioning, but they usually aren’t doing full fit assessments.
- Bike fitter: Best for recurring knee/hip/foot issues, especially if you ride a lot indoors and outdoors.
- Physical therapist: If pain seems injury-related or affects daily life, a PT can assess movement patterns; consider someone familiar with cyclists.
- Podiatrist: If you suspect arch issues or need custom support, a medical professional may help, particularly if you have known foot conditions.
According to the U.S. Centers for Disease Control and Prevention (CDC), physical activity is beneficial for health, but safety and appropriate progression matter, so it’s sensible to address pain signals early instead of normalizing them.
Conclusion: picking your next pair with less guesswork
The best cycling shoes for spin class are the pair you can forget about once the music starts, stable under load, comfortable in heat, and compatible with the pedals you actually use. If you do only two things, make it these: confirm whether your studio runs SPD or Look Delta, then choose a shoe shape that fits your foot without pressure points.
If you’re shopping this week, bring your focus back to fit and compatibility, then budget for cleats and a basic multi-tool. That small prep often makes your first clipped-in class feel calmer, safer, and way more fun.