
The best bike mirror for handlebars is the one you actually glance at, stays steady on rough pavement, and matches your bar shape, grip space, and riding speed.
A lot of riders buy a mirror thinking any reflective surface will do, then discover the real issues: vibration blur, a tiny field of view, a clamp that slips, or a mirror that hits knees on tight turns. The result is worse than having no mirror because you stop trusting it.
This guide is built around what usually matters in day-to-day U.S. riding: commuting in traffic, weekend road rides, gravel vibrations, and e-bike speeds that make cheap mirrors wobble. You’ll get a quick comparison table, a fit checklist, and setup tips that improve clarity more than most “upgrades.”
Key takeaways: pick the mount style that matches your bars, prioritize stability over size, and set the angle to show a slice of your shoulder plus the lane behind.
Quick comparison: which handlebar mirror type fits your ride?
Before brand shopping, decide on the mirror style. It narrows the field fast, and it prevents buying a model that simply cannot fit your cockpit.
| Mirror type | Best for | Pros | Trade-offs |
|---|---|---|---|
| Bar-end mirror | Road, gravel, fitness bikes | Wide view, stable position | Needs open bar ends or compatible plugs |
| Inboard clamp (near stem) | Commuters, flat bars with accessories | Protected from bumps, easy to reach | May show more elbow/arm if set wrong |
| Above-grip clamp | Hybrids, casual bikes | Simple install, no bar-end access needed | More prone to vibration on rough roads |
| Helmet mirror | Riders who constantly scan traffic | Moves with your head | Some riders dislike the feel, learning curve |
What actually makes a handlebar mirror “the best” in 2026?
Marketing tends to focus on “HD glass” and fancy shapes. In real use, the best bike mirror for handlebars comes down to a few boring details that decide whether you trust the image at 18 mph or 28 mph.
Stability beats mirror size
A large mirror that shakes becomes a gray smear. A slightly smaller mirror with a rigid arm and a secure clamp stays readable, especially on chipseal, bridge joints, and gravel.
Lens shape: flat vs convex
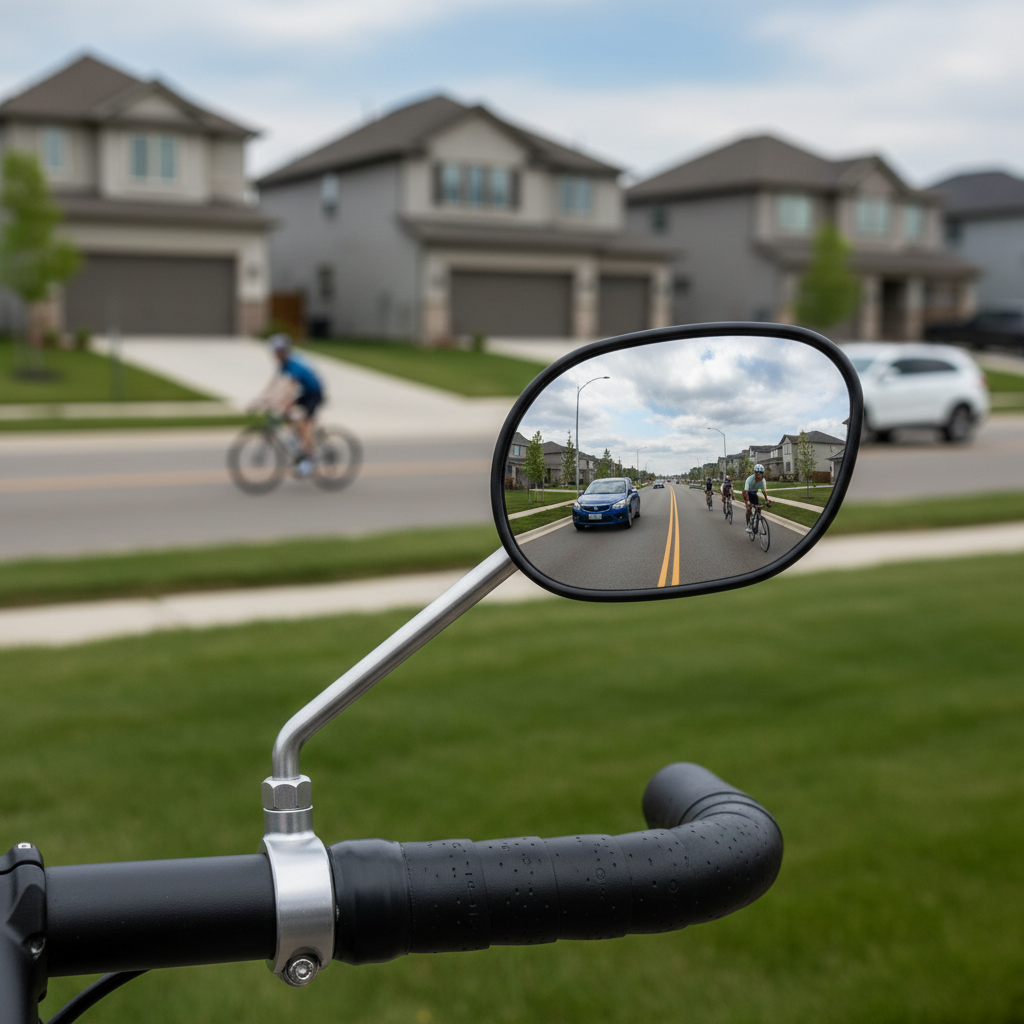
- Convex mirrors show more lane, which helps in traffic and on multi-use paths, but cars appear farther away than they are.
- Flat mirrors give a more natural distance read, but the viewing angle is narrower, so setup must be more precise.
If you tend to ride in mixed traffic, convex is usually easier to live with, as long as you remember the distance illusion.
Mount compatibility is the hidden deal-breaker
Many returns happen because the mirror doesn’t match the bar end diameter, the grip style, or the rider’s control layout. Some mirrors need bare bar ends, others require a straight section of handlebar, and some clash with large brake levers or shifters.
Materials and hardware quality
Look for metal hardware where it matters (clamp bolt, pivot hardware), and a joint that holds position without overtightening. If you have to crank the bolt to stop droop, the mirror tends to strip, crack, or slip later.
Self-check: pick the right mirror in 90 seconds
If you only do one thing before buying, do this. It prevents the classic mismatch between “top-rated mirror” and “my bike.”
- Your handlebar type: flat, drop, swept-back, aero extensions, or riser bar.
- Bar ends available? open ends, capped ends, integrated grips, or bar-end plugs you can remove.
- Space near grips: do you run a bell, light, phone mount, or e-bike display that crowds clamps?
- Vibration level: smooth pavement, broken city streets, gravel, or suspension fork chatter.
- Speed profile: casual cruising vs e-bike Class 3 speeds, where wobble becomes obvious.
- Dominant glance side: many riders prefer left-side mirrors for traffic awareness in the U.S., but your route matters.
One practical rule: if your bars are crowded, bar-end mirrors often solve the “no clamp space” problem, while still giving a wide view.
How to set up your handlebar mirror so it’s actually useful
A good mirror installed poorly feels like a bad product. Setup takes a few minutes, and it’s where most riders get real gains.
Step-by-step positioning that works in traffic
- Start on a flat surface, bike upright, normal riding posture.
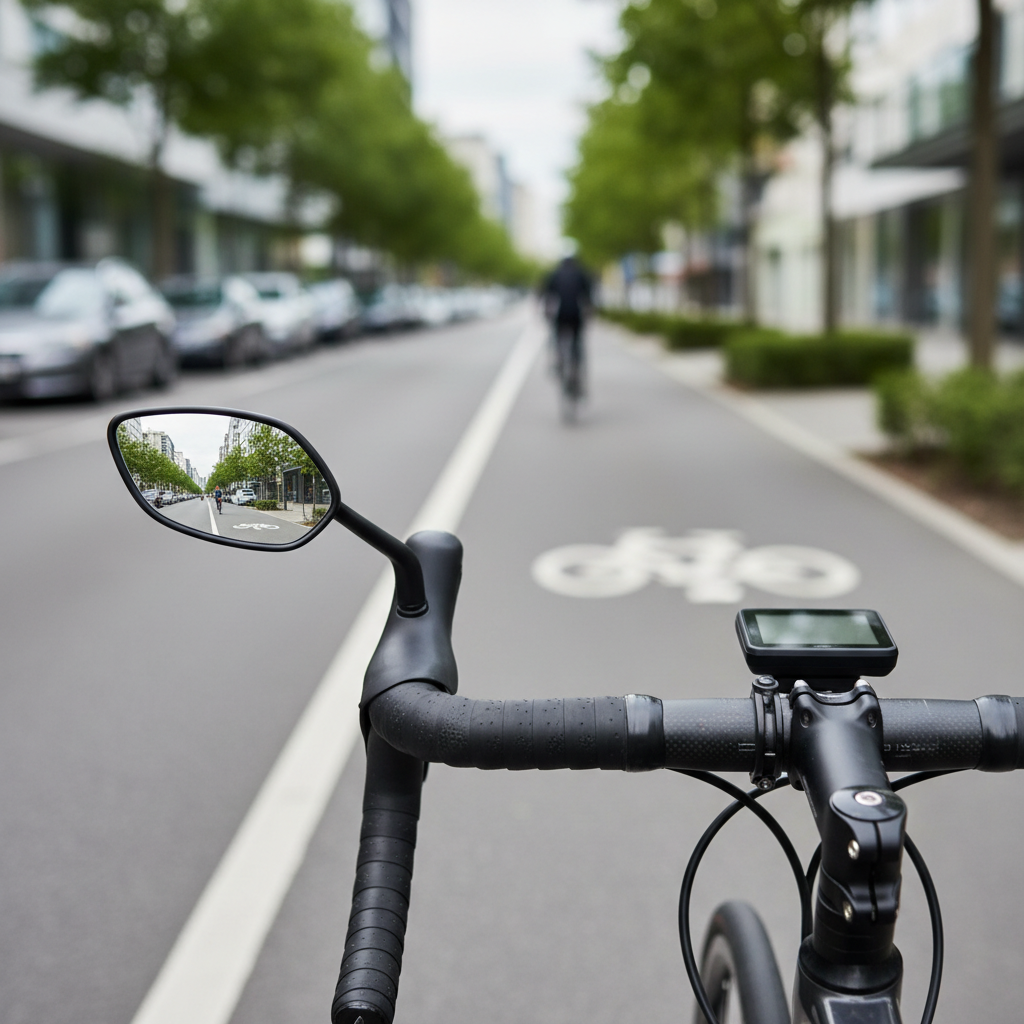
- Angle the mirror so you see a thin slice of your shoulder plus the lane behind. If you see only road, you lose context.
- Minimize arm/elbow blocking by moving the mirror outward or slightly upward, depending on mount style.
- Lock pivots in small increments, then ride one block and re-check. Tiny adjustments matter.
Vibration control tips (cheap fix, big impact)
- Re-seat clamps on clean bar surface, remove grit, and align the clamp evenly before tightening.
- If your mirror uses a bar-end expander, make sure it bites the inside of the bar evenly, not crooked.
- For persistent blur, a shorter arm often helps more than “tighter bolts.”
According to NHTSA, cyclists should use multiple strategies to stay aware of surrounding traffic. A mirror can help, but it should complement shoulder checks and predictable lane position rather than replace them.

Recommendations by riding scenario (how to choose without overthinking)
I’m not going to pretend there’s one mirror that fits every bike. The best bike mirror for handlebars changes with cockpit layout, terrain, and how much you value a wide view versus a compact footprint.
Commuting in city traffic
- Prioritize: wide field of view, quick read, durability.
- Usually works: convex bar-end mirror or sturdy inboard clamp near the stem.
- Why: you’re monitoring faster vehicles and frequent passes, a broader image reduces surprises.
Road cycling and group rides
- Prioritize: low profile, stable image at speed, minimal interference with hand positions.
- Usually works: compact bar-end mirrors designed for drop bars.
- Watch for: mirror placement that doesn’t conflict with bar tape wrap or bar-end plugs.
Gravel and rough pavement
- Prioritize: vibration resistance, strong joints, shorter arm.
- Usually works: robust bar-end mount with a rigid arm, or a protected inboard clamp.
- Reality check: some blur is normal on washboard, your goal is “readable enough,” not perfect.
E-bikes and faster commuting
- Prioritize: clamp security, hinge strength, consistent angle retention.
- Usually works: mirrors with metal pivots and a proven clamp design, avoid ultra-long arms.
- Also consider: a second mirror if your route includes frequent multi-lane crossings.
Mistakes that make a good mirror feel bad
These are the common traps I see when riders complain that mirrors are “useless,” when it’s often a setup or compatibility issue.
- Mounting too far inward, then seeing mostly elbow and losing the lane behind.
- Over-tightening plastic joints, which can crack the housing or strip threads over time.
- Choosing ultra-cheap optics, where the coating scratches easily and glare gets worse fast.
- Relying on the mirror only; mirrors reduce surprises but don’t replace shoulder checks, especially before turns.
- Ignoring bar-end compatibility; some bars are internally routed or have shapes that limit expansion plugs.
When it’s worth asking a bike shop for help
If your setup is straightforward, mirror installation is DIY. But there are a few situations where a shop can save time and prevent expensive mistakes.
- You have carbon handlebars and you’re unsure about torque limits, a shop can help avoid crush damage.
- Your grips are integrated, heated, or have unique end caps, compatibility can get weird fast.
- You’re chasing a persistent vibration blur after multiple adjustments, a mechanic may spot a loose accessory mount or bar-end issue.
For any safety-related concern, especially if you’re riding in heavy traffic, it may be smart to get a professional fit check or ask an experienced mechanic to confirm your cockpit setup.
Conclusion: a practical way to pick your next handlebar mirror
If you want a simple path, start by deciding mount style based on your handlebar and accessory space, then choose the most stable construction you can reasonably afford, and finally spend a few minutes dialing angle and position. That’s what turns “a mirror” into a tool you trust.
Action steps: measure your bar ends or clamp area before buying, then do a short test ride and adjust until you see a bit of shoulder plus the lane behind. If the image still jitters, shorten the arm or move to a sturdier mount rather than chasing micro-adjustments forever.
FAQ
What is the best bike mirror for handlebars for city commuting?
For many commuters, a convex mirror with a stable bar-end or inboard clamp is the easiest to read in traffic. The “best” choice depends on whether your bars have open ends and how crowded your grips are with lights and bells.
Are bar-end mirrors better than clamp-on handlebar mirrors?
Often they’re more stable and give a wider view because they sit farther out. Clamp-on models can still be great on flat bars, especially if you want the mirror protected near the stem, but they’re more likely to show elbow if placed poorly.
Do convex bike mirrors distort distance?
Yes, in many cases cars appear smaller and farther away. Convex lenses are still popular because they show more of the lane, you just need a little time to calibrate your judgment.
Can I use a handlebar mirror on drop bars?
Usually yes, but you’ll want a drop-bar compatible bar-end mirror that fits your bar-end plug situation and doesn’t interfere with hand positions. If your bars are internally routed, double-check expansion plug compatibility.
Why does my handlebar mirror keep slipping out of position?
Most of the time it’s clamp seating, a joint that can’t hold torque, or an expansion plug that isn’t biting evenly. Cleaning the mounting surface and re-installing carefully helps, but if the hardware is soft, it may never stay tight for long.
Is one mirror enough, or should I install two?
One mirror is common and can be plenty, especially on the traffic side. Two mirrors can reduce blind spots, but they also add cockpit clutter, so it’s a trade-off that depends on your route and how often you change lanes.
Where should I aim my bike mirror for the clearest rear view?
A good starting point is a thin slice of shoulder at the inner edge with the rest showing the lane behind. If you see only your arm, move the mirror outward; if you see only empty road, add a bit of shoulder for reference.
If you’re trying to pick the best bike mirror for handlebars for a specific bike setup, it’s often faster to list your handlebar type, bar-end situation, and what accessories you run near the grips, then shortlist mirrors that actually fit before you compare features.