
Best bike lights front and rear choices in 2026 come down to a few practical factors most riders only notice after a couple frustrating night rides: beam shape that actually shows potholes, a rear light drivers can pick out from clutter, mounts that don’t slip, and runtimes that match your real week.
If you’ve ever bought a “1000-lumen” light that still felt sketchy on an unlit path, you already know the spec sheet rarely tells the whole story. A smart setup balances seeing (front beam) and being seen (rear visibility), plus some basic reliability so you’re not charging every day.
This guide focuses on what to buy, how to choose based on where you ride in the U.S., and how to set it up so it works in traffic, on trails, and in mixed street lighting.
What actually matters in a front & rear light set
Marketing leans hard on lumens, but real-world safety usually tracks with beam control, stability, and consistency over time. Here’s what tends to matter most when people shop for a paired setup.
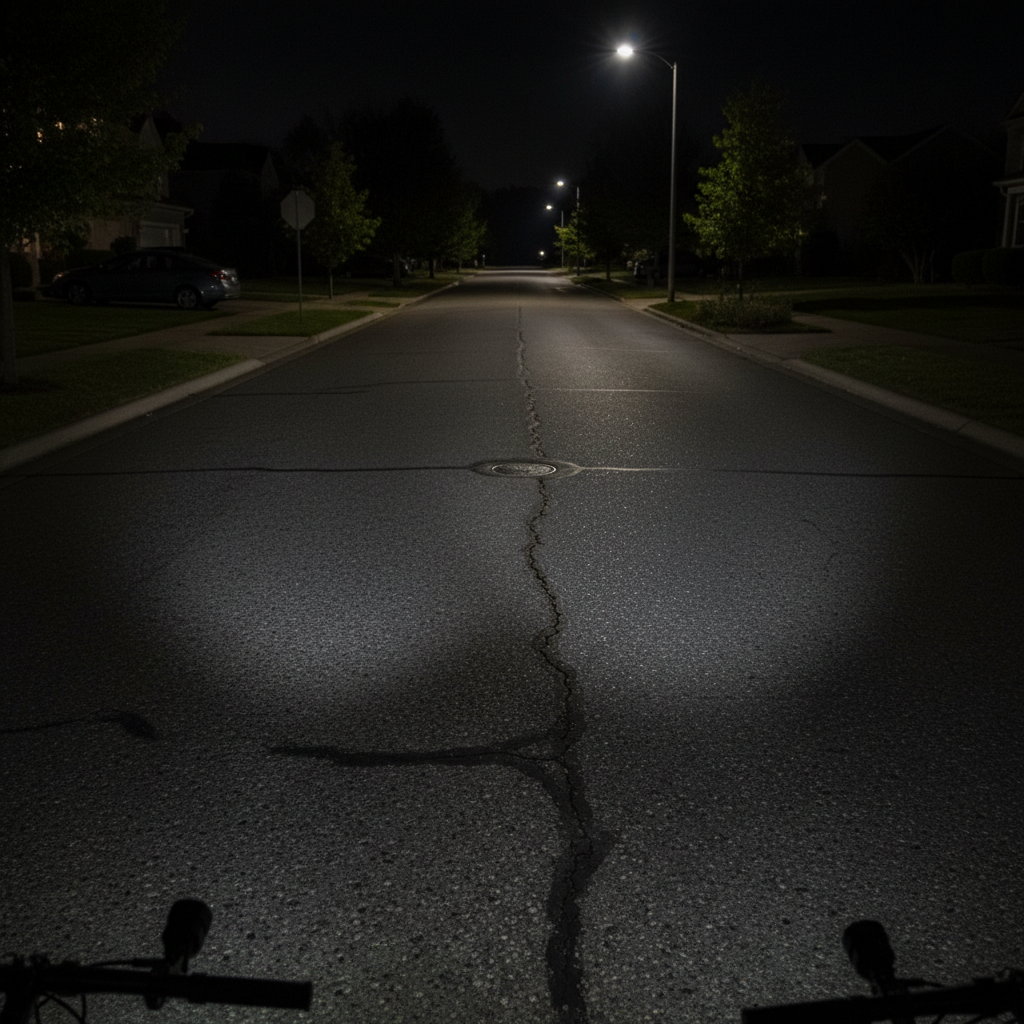
- Front beam pattern: A wide, even beam helps on bike paths; a more focused spot helps on dark rural roads. A “cutoff” beam reduces glare for oncoming riders and drivers, which can be a big deal in cities.
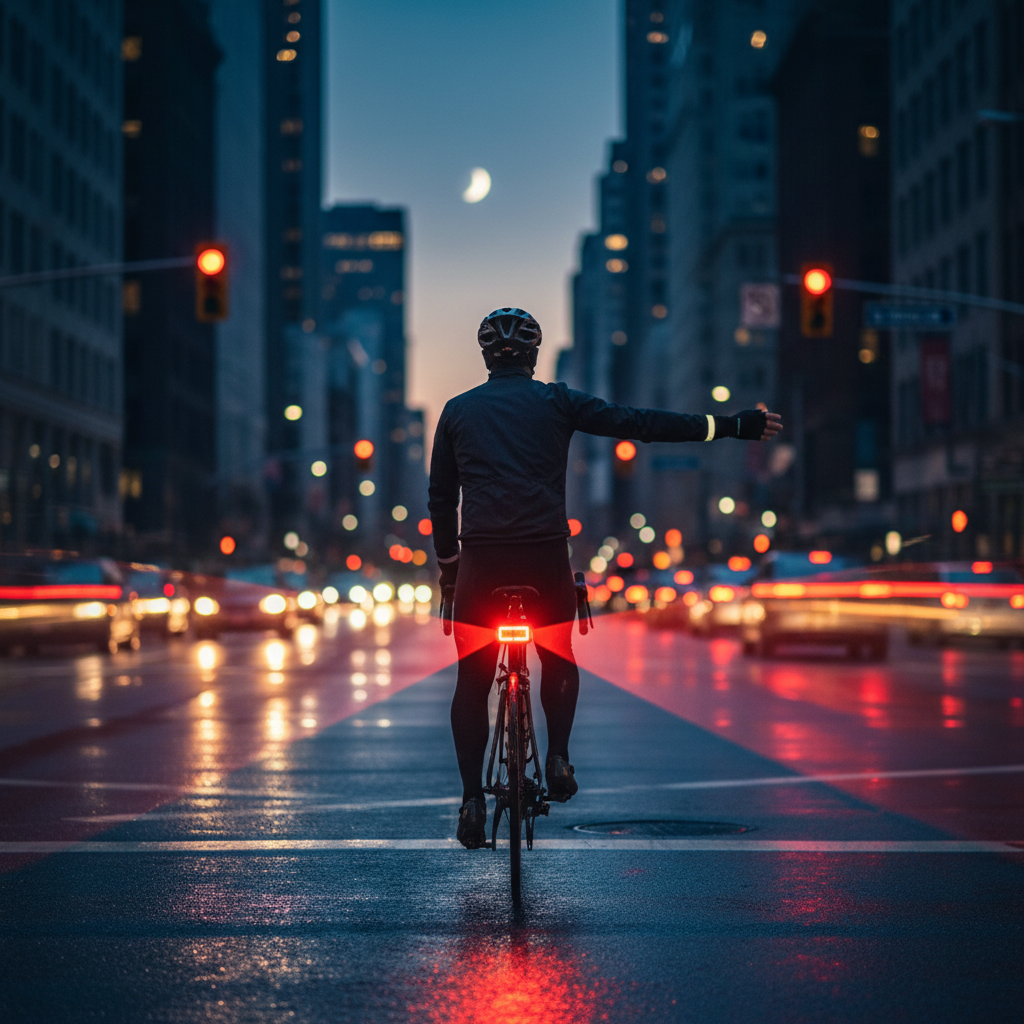
- Rear visibility optics: A good rear light looks larger than it is, with side visibility so you’re not invisible at intersections.
- Runtime at usable modes: Ignore “maximum runtime” marketing, check mid modes you’ll actually use for commuting.
- Mount quality: Rubber straps are convenient; a solid clamp mount often holds aim better on rough pavement.
- USB-C charging: Not mandatory, but in 2026 it’s the easiest standard to live with.
- Weather resistance: Rain happens, even when you “don’t plan” to ride in it.
Quick picks table: choosing a setup without overthinking
If you just want a sensible starting point, use the table to match your common ride scenario. Think of it as a filter before you compare brands and models.
| Riding scenario | Front light target | Rear light target | Mount & power notes |
|---|---|---|---|
| City commuting (streetlights, traffic) | 400–800 lm, wide beam or cutoff | Daytime flash + strong side visibility | Quick release; USB-C helps for frequent charging |
| Suburban mixed roads | 600–1200 lm, balanced spot/flood | Steady + pulse option | Stable mount to prevent aim drift |
| Rural roads (dark, higher speeds) | 1000–1800 lm, longer throw | High-intensity steady mode for long stretches | Consider extra battery capacity or power bank support |
| Bike paths / greenways | 500–1000 lm, wide spill for edges | Comfortable pulse (not blinding for others) | Angle down slightly to reduce glare |
| Gravel / light trail at night | 1200–2000 lm, good vibration resistance | Secure mount, dust/water resistance | Helmet light optional as a second front source |
How bright is “bright enough” in 2026?
Brightness is contextual. A 1200-lumen light in a narrow hotspot can feel worse than an 800-lumen light with a smooth, wide beam. For most riders looking for the best bike lights front and rear, these ranges work as a practical baseline.
- Front (to see): 400–800 lm for well-lit urban streets, 600–1200 lm for mixed lighting, 1000–1800 lm for dark roads or faster riding.
- Rear (to be seen): More about optics than lumens. Look for a light that’s obvious from distance and from the side.
One caution: more power can mean more glare. If you ride on paths with pedestrians or oncoming cyclists, a lower mode plus a good beam shape often feels safer for everyone.
According to the National Highway Traffic Safety Administration (NHTSA), visibility is a key factor in preventing crashes, and lighting is part of making road users more detectable. That’s not the same as “buy the brightest light,” but it supports investing in a setup you’ll actually keep charged and turned on.
Self-check: what kind of rider are you, really?
People buy the wrong set when they shop for the ride they want to do, not the ride they do on Tuesday at 6:40 pm. Run this quick checklist and you’ll narrow the field fast.
- You need a cutoff beam if you ride in bike lanes with oncoming riders often, or you’ve been flashed by drivers for “high beams.”
- You need longer runtime if you commute 4–5 days a week and hate charging, or you forget to top up batteries.
- You need a better mount if your current front light droops after bumps, or you keep re-aiming it mid-ride.
- You need better rear optics if you ride in heavy traffic, cross lots of intersections, or share lanes with SUVs and trucks.
- You need weatherproofing if you ride year-round or your bike lives outside for part of the day.
If you checked three or more, prioritize reliability and beam/optic quality over chasing a bigger lumen number. That’s where “best” typically lives.
Practical buying guide: features worth paying for
There are plenty of solid lights at different budgets, but a few features consistently separate “fine for a month” from “still happy next season.”
Front light features
- Regulated output: Keeps brightness steadier as the battery drains, instead of slowly dimming without you noticing.
- Multiple truly usable modes: A mid steady mode and a lower “be seen” mode, not just turbo + useless low.
- Thermal management: High-power lights often step down to avoid overheating; that’s normal, but look for honest mode charts.
Rear light features
- Daytime visibility mode: Flash patterns designed to stand out in daylight, not only at night.
- Wide-angle lens: Helps drivers notice you even if they’re not directly behind.
- Secure attachment: Seatpost and saddle-rail mounts both work; choose what won’t slip on your bike.
Set-level details that people overlook
- Battery indicator you can read: A clear multi-level indicator beats a single red “panic” light.
- Glove-friendly buttons: Winter commuting makes tiny buttons feel like a bad joke.
- Spare mounts availability: If you own multiple bikes, extra mounts make a good set more usable.
Setup tips that make your lights look brighter (without buying more lumens)
Even the best bike lights front and rear can underperform if they’re pointed wrong or blocked by gear. These tweaks take minutes and usually pay off immediately.
- Aim the front light slightly down: You want usable light on the road 20–40 feet ahead, not in drivers’ eyes.
- Use steady front + attention-grabbing rear in traffic: Many riders find a steady front beam helps depth perception, while the rear benefits from a pulse/flash in daytime.
- Keep the rear light unobstructed: Saddle bags, jackets, and racks can block it; reposition if needed.
- Mount on the bike, not on soft fabric: A rear light clipped to a flapping backpack can disappear at angles.
- Clean lenses occasionally: Road grime quietly cuts output, especially on the rear.

Mistakes to avoid (they’re common, and they’re fixable)
Most “my light isn’t good enough” complaints trace back to a handful of patterns. If any of these sound familiar, fix them before you replace your setup.
- Running turbo constantly: Heat step-down and short runtime can leave you dim when you need light most.
- Using an aggressive flash at night on multi-use paths: It can reduce others’ ability to judge distance; a calmer pulse or steady mode often works better.
- Trusting a flimsy strap mount on rough roads: The beam drifts, then you compensate by cranking brightness.
- Ignoring side visibility: Rear lights that only shine straight back can be less helpful at intersections.
- Assuming “water resistant” means waterproof: Many lights handle rain, fewer enjoy being blasted by a pressure washer.
According to the League of American Bicyclists, using lights in low-light conditions and positioning them properly are basic visibility practices. If you commute, it’s worth building a small routine around charging and a quick pre-ride check.
When to get help or upgrade beyond a basic set
If your riding involves higher speeds, group night rides, or regular dark-road miles, a basic combo can feel limiting. Consider stepping up, or asking a local bike shop to help you match gear to your routes, when any of these show up often.
- You routinely outrun your light: You can’t stop within the distance you can clearly see.
- Your commute includes fast arterials: You need stronger rear presence and very stable mounting.
- You ride in severe weather: You may want higher ingress protection and more robust seals.
- You have vision concerns at night: A professional may help assess whether different eyewear, beam pattern, or route choice makes riding safer.
Local laws vary on required lighting and flash patterns, so if you’re unsure, checking your state or city guidance can prevent avoidable headaches.
Conclusion: a “best” set is the one you’ll actually use
The best setups for 2026 usually share the same DNA: a front light with a controlled beam and realistic runtime, plus a rear light that stays visible from multiple angles and mounts securely. If you want one simple next step, match your typical route to the table above, then prioritize beam pattern and mount quality before chasing bigger numbers.
If you’re shopping this week, pick a front light you can run on a medium steady mode for most rides, add a rear light with strong side visibility, and set a charging routine you won’t resent, that combination tends to outperform “brighter but inconsistent” every time.
FAQ
- What is the best bike lights front and rear setup for city commuting?
Usually a 400–800 lumen front with a wide or cutoff beam, plus a rear light with a noticeable daytime flash mode and good side visibility, because intersections matter more than top speed in cities. - Do I need 1000 lumens for a front bike light?
Not always. Many riders feel safer with 600–900 lumens and a smoother beam in urban areas, while darker roads and faster riding often benefit from more throw and higher output. - Is flashing mode safer than steady?
It depends on where and when. Flash can help in daytime traffic, but at night on paths it may irritate or reduce others’ depth perception; a steady front and a calmer rear pulse is a common compromise. - How do I know if my rear light is visible enough in daylight?
If it looks “small” even when you stare at it, it’s probably not strong enough for daytime. Look for lights marketed for daytime visibility and with optics that spread light sideways. - What mounting position is best for a rear bike light?
Seatpost is simplest, but saddle-rail mounts can sit higher and clearer of bags. The best position is the one that stays unobstructed and doesn’t rotate downward. - How long should bike light batteries last for commuting?
For many commuters, 3–6 hours on a usable steady mode covers a week with a couple charges, but your exact need varies with mode choice, temperature, and battery age. - Can I use a helmet light instead of a handlebar light?
A helmet light can help you aim light where you look, but it’s usually better as a supplement. A bar-mounted light provides steadier road illumination and reduces glare when you turn your head.
If you’re trying to narrow down options fast, start by writing down your typical ride time, route lighting, and whether you ride in traffic or on paths, then choose a front beam pattern that fits those conditions and a rear light with strong side visibility, it’s the simplest way to land on a setup that feels “right” after the first week.