
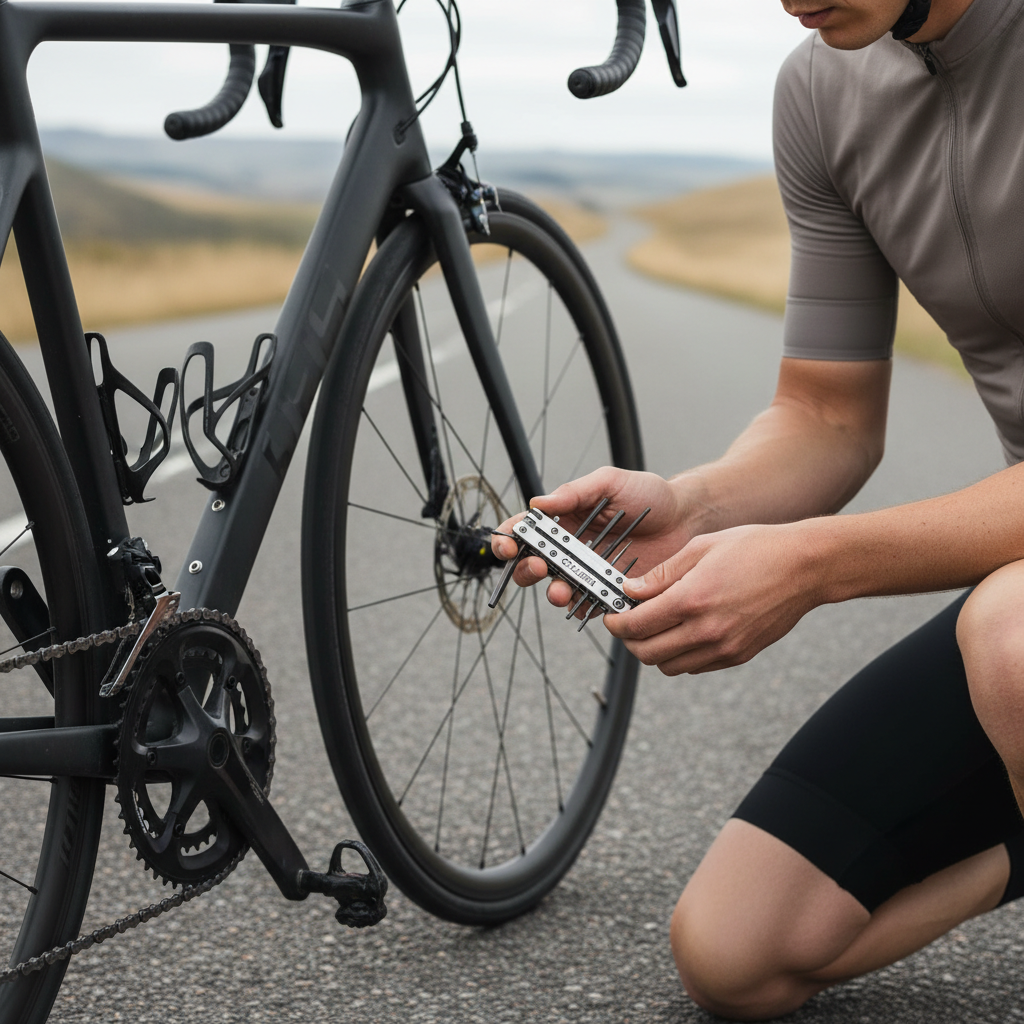
How to use a cycling multi tool comes down to two things: picking the right bit for the job and applying force in a way that doesn’t damage your bike or your hands.
If you’ve ever stopped for a squeaky seatpost, a slipping handlebar, or a chain problem and thought “I have tools… now what?”, you’re not alone. Multi tools feel obvious until you’re on the side of the road with cold fingers and one bolt that won’t budge.
This guide focuses on the repairs riders most often do mid-ride, how to avoid the common mistakes that strip bolts, and what to check at home so your tool actually helps when it matters.
What a cycling multi tool usually includes (and what it can’t do)
A cycling multi tool is basically a compact set of Allen keys, Torx bits, and a few “nice to have” extras folded into one body. Most models cover the fasteners you touch most: cockpit bolts, seatpost clamps, bottle cages, and accessory mounts.
Common tools you’ll see:
- Hex (Allen) keys: often 2/2.5/3/4/5/6/8mm
- Torx: commonly T25 for disc rotor bolts and some cockpit hardware
- Phillips/flathead: less common on modern bikes, still pops up on accessories
- Chain tool: for pushing chain pins, sometimes compatible with 8–12 speed but not always equally well
- Spoke wrenches: usually only a couple sizes, not a full set
What it typically can’t replace: a torque wrench, long-handled leverage for stubborn pedals, and bike-specific shop tools. If you’re trying to solve a problem that needs precise torque or major force, a multi tool might make it worse.
According to Park Tool, correct tool fit and technique matter because rounded fasteners and stripped threads often come from using the wrong size or applying force at an angle.
Before you turn a bolt: quick fit and safety checks
This is the part most people skip, and it’s usually why bolts get chewed up. Give yourself 15 seconds and you’ll save a lot of frustration.
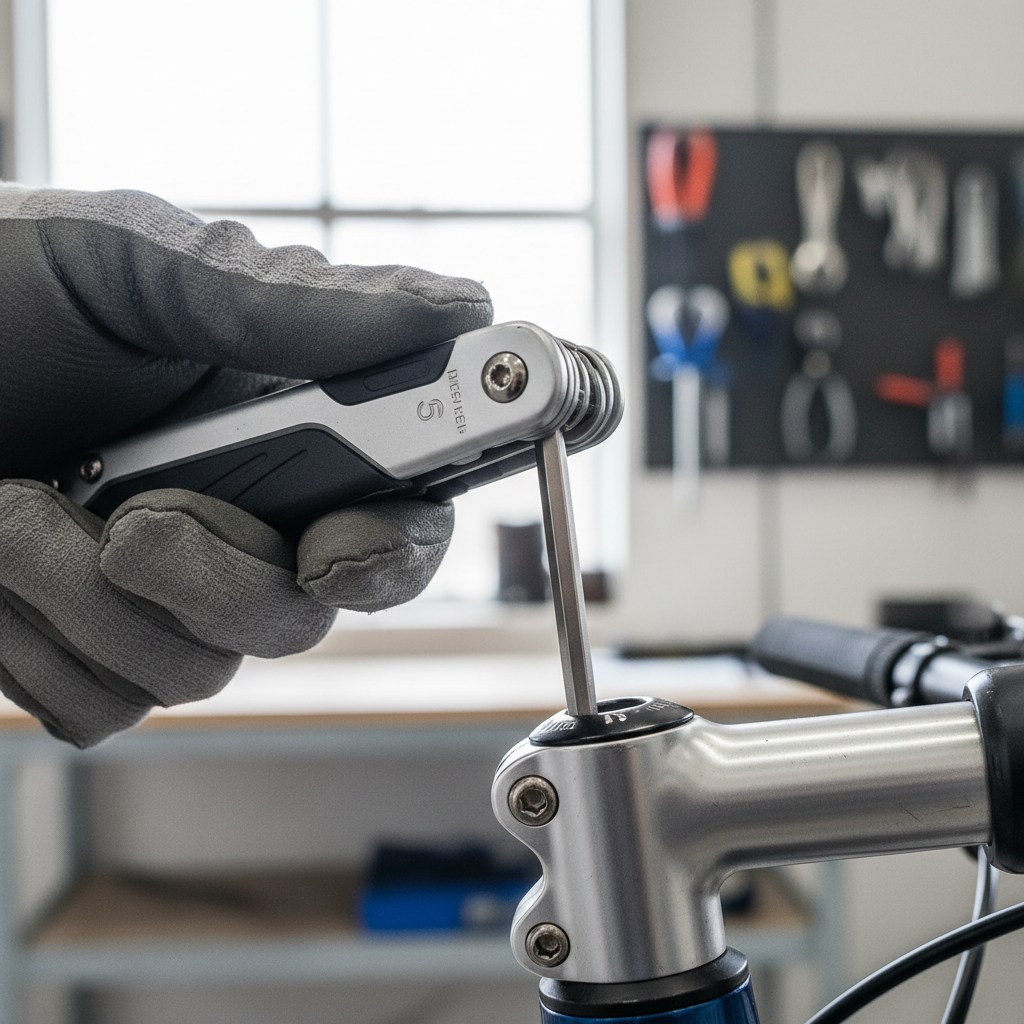
1) Confirm the bit size and seat it fully
Pick the bit that slides in snugly with no wiggle. Push it all the way into the bolt head before applying force, especially on small 2–3mm hardware.
2) Align your force
Try to keep the tool in line with the bolt, not tipped off to one side. Side-loading is a common reason hex heads round out.
3) Know which parts are “easy to over-tighten”
Seatposts, carbon bars, and lightweight stems don’t need hero strength. If your bike has carbon parts, many manufacturers recommend following their torque specs and using a torque wrench at home, then using the multi tool only for small mid-ride corrections.
How to use a cycling multi tool for the fixes riders actually do
Here’s how to use a cycling multi tool for common on-road problems, with the small details that keep repairs from turning into bigger ones.
Tighten a loose saddle or seatpost clamp
- Check whether the saddle rails are slipping or the seatpost is sliding in the frame, they’re different fixes.
- For a slipping seatpost, tighten the seatpost clamp bolt in small increments, then test by twisting the saddle gently with your hands.
- If your seatpost keeps slipping, tightening harder may not be the answer; the post or frame might need cleaning, carbon paste, or inspection.
Fix a rotated handlebar or slipping stem faceplate
- Loosen the stem faceplate bolts slightly, just enough to rotate the bar back.
- Re-tighten in a cross pattern (top-left, bottom-right, top-right, bottom-left) so the faceplate gap stays even.
- Stop when it feels snug; over-tightening is a common way to damage bars or strip small bolts.
Adjust a slipping seat clamp or accessory mount
- Accessory bolts are easy to strip because the heads are small and soft.
- Use firm, straight pressure, and if it won’t tighten, check that the mount isn’t cross-threaded.
Quick brake lever reach or pad contact tweaks (where applicable)
Some brake levers have small hex or Torx adjustment screws. Make tiny changes, then test in a safe spot. If braking feels inconsistent or you hear grinding, it’s safer to stop riding and consult a shop since brake issues can involve worn pads, rotors, or hydraulic problems.
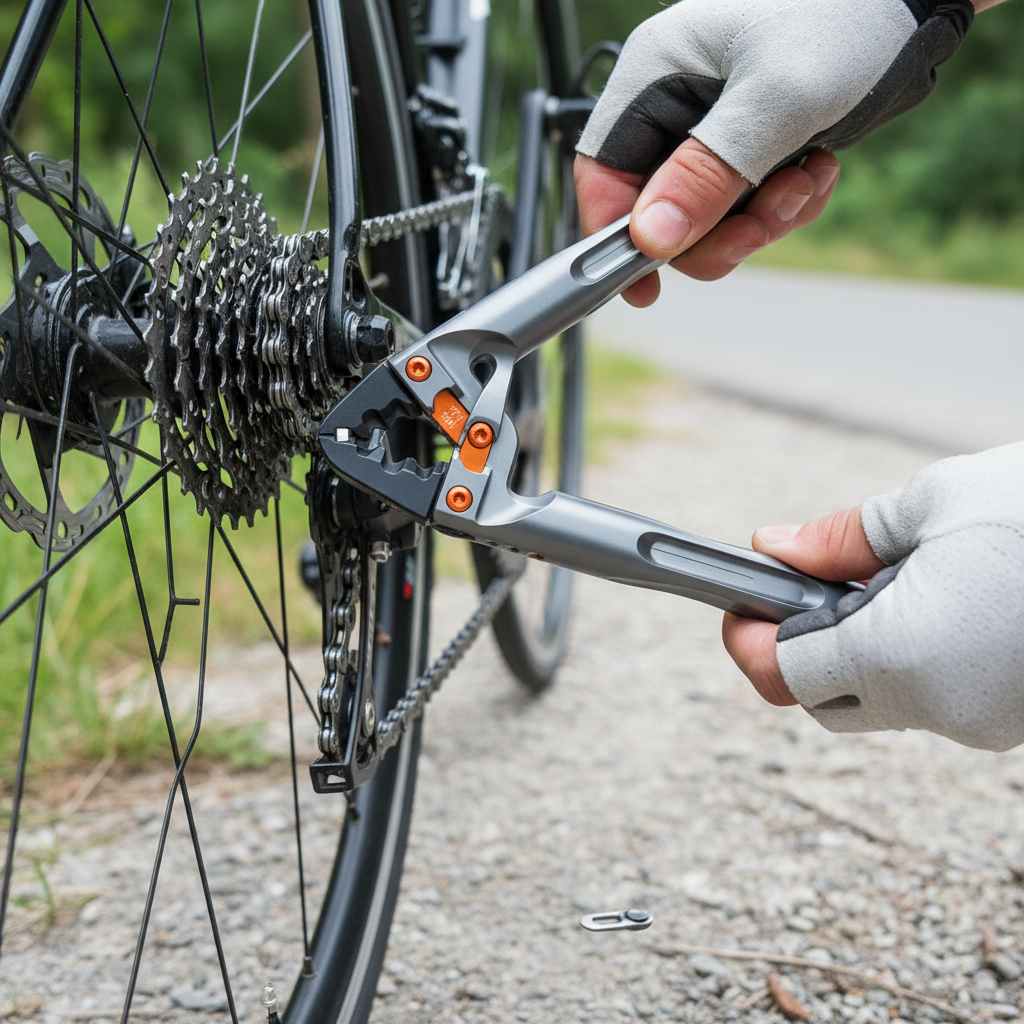
Using the chain tool (and not making the chain worse)
The chain tool is the most “powerful” feature on many multi tools, and also the easiest to misuse. If you carry a quick link that matches your chain speed, most roadside chain fixes become much simpler.
Best-case scenario: you have a quick link
- Remove the damaged link section if needed, using the chain tool to push a pin out.
- Route chain correctly through the derailleur pulleys before reconnecting.
- Install the quick link and lock it by applying pedal pressure with the rear brake held.
If you don’t have a quick link
You may be able to rejoin the chain by reusing a pin on some chains, but many modern chains are designed around single-use connecting pins or quick links. If you’re unsure, it’s often better to do the minimum to limp home and replace the chain later.
According to SRAM, correct connection methods depend on the chain model, and using the proper connecting link or pin is important for safety and durability.
Quick reference table: common bolts, common sizes, common mistakes
If you’re still building confidence, this table gives you a “start here” map. Always confirm your specific bike hardware since brands vary.
| Bike part | Common tool | Typical situation | Easy mistake |
|---|---|---|---|
| Stem faceplate | 4mm or 5mm hex | Bars rotated after a bump | Tightening one bolt fully, uneven clamp |
| Seatpost clamp | 4mm/5mm hex | Saddle height drifting | Over-tightening instead of cleaning/gripping |
| Disc rotor bolts | T25 Torx | Rotor tick after wheel change | Using worn T25, stripping bolt head |
| Bottle cage | 4mm hex | Cage rattling | Cross-threading into frame insert |
| Cleat bolts | 4mm hex or Torx | Foot feels off-center | Adjusting without marking original position |
A simple self-check: are you using the right tool and the right force?
When something won’t tighten or loosen, pause and run this checklist. It’s the difference between a quick fix and a stripped bolt that ruins your ride.
- The bit fits perfectly: no play, no wobble
- The tool is straight: force lines up with the bolt axis
- You’re turning the correct direction: sounds obvious, gets people under stress
- You’re not using the tool “half-open”: keep the handle stable so it doesn’t fold
- You’ve checked for dirt: grit in the bolt head makes the fit worse
- You know when to stop: if resistance spikes suddenly, reassess
Key point: if the bit starts camming out (rising out of the bolt head), stop immediately and re-seat it. Continuing is how fasteners get rounded.
What to do at home so your multi tool works on the road
The best time to learn how to use a cycling multi tool is not when you’re late for a group ride. A five-minute check at home makes roadside repairs calmer.
- Test every bit on your bike so you know your real sizes, not “typical sizes.”
- Add what’s missing: many riders pair the tool with tire levers, a tube or plug kit, a mini pump/CO2, and a quick link.
- Keep bolts healthy: if a bolt head already looks rounded, replace it before it becomes an emergency.
- Use a torque wrench for setup: dial in correct torque at home, then your multi tool becomes a “restore settings” tool mid-ride.
According to Shimano, following specified tightening torque helps components stay secure without damaging parts, especially on lightweight assemblies.
Common mistakes that make a quick fix turn into a long walk
- Using ball-end hex keys to break a bolt loose: ball ends are great for access, not for high torque.
- Cranking on small bolts: a lot of cockpit and accessory bolts are designed for modest torque.
- Skipping the “why”: if a saddle keeps slipping, something is usually dirty, worn, or mismatched, not “under-tightened.”
- Ignoring creaks: tightening random bolts often hides the symptom, not the source.
- No plan for chain issues: a chain tool without a compatible quick link can leave you stuck.
When it’s smarter to stop and get professional help
Multi tools are for adjustments and small repairs, not every problem. If any of the situations below happen, riding on may be unsafe or may cause expensive damage, a bike shop can help diagnose fast.
- Carbon cracks or deep gouges on bars, fork, frame, seatpost
- Brake problems like sudden loss of power, leaking fluid, or metal-on-metal sounds
- Repeated bolt loosening even after proper tightening, could indicate stripped threads or missing hardware
- Wheels out of true enough that brake rub won’t clear, spoke or rim issues may be involved
If you’re unsure, it’s reasonable to make the bike safe to roll, then call for a ride or visit a shop. Saving a few miles rarely beats avoiding an injury.
Conclusion: a multi tool is a skill, not just a gadget
Once you know how to use a cycling multi tool with the right bit fit and a light touch, most mid-ride adjustments stop feeling dramatic. Practice on your bike at home, carry a quick link that matches your chain, and treat stubborn bolts as a signal to reassess rather than muscle through.
Action step: today, check your stem, seatpost, and bottle cage bolts with your multi tool so you know exactly what sizes your bike needs, then stash that tool where you’ll actually bring it.