
how to choose padded cycling underwear usually comes down to one question, what’s actually causing your discomfort—pressure, rubbing, heat, or a mix of all three.
If you buy the wrong pair, you may feel fine for 20 minutes and miserable at mile 15, which is why this small gear choice tends to matter more than people expect. Comfort affects posture, and posture affects power and control, especially on longer rides.
This guide breaks it down in a practical way, what to look for in the pad, how the underwear should fit, when to skip it and go with padded shorts instead, plus a quick checklist you can use before you click “add to cart.”
Start with the real problem: pressure vs chafing vs heat
Most “bad underwear” complaints are really mismatch problems. The pad can be fine, but wrong for your saddle, ride length, or how you move on the bike.
- Pressure or numbness often points to pad shape, density, or saddle fit, not just “more padding.” Too much bulk can actually increase pressure by creating ridges.
- Chafing usually comes from seams, loose fabric that shifts, or a pad that folds as you pedal.
- Heat and sweat rash often links to fabric choice, breathability, and drying speed, especially in humid states or indoor training.
According to the International Society for Bicycle Fitting (ISBF), saddle comfort problems are often solved by addressing fit and contact points together, saddle, shorts, and position, rather than changing only one item.
Chamois (pad) basics that actually matter
The pad is the whole point, but it’s easy to shop by thickness alone and miss what keeps you comfortable after an hour.
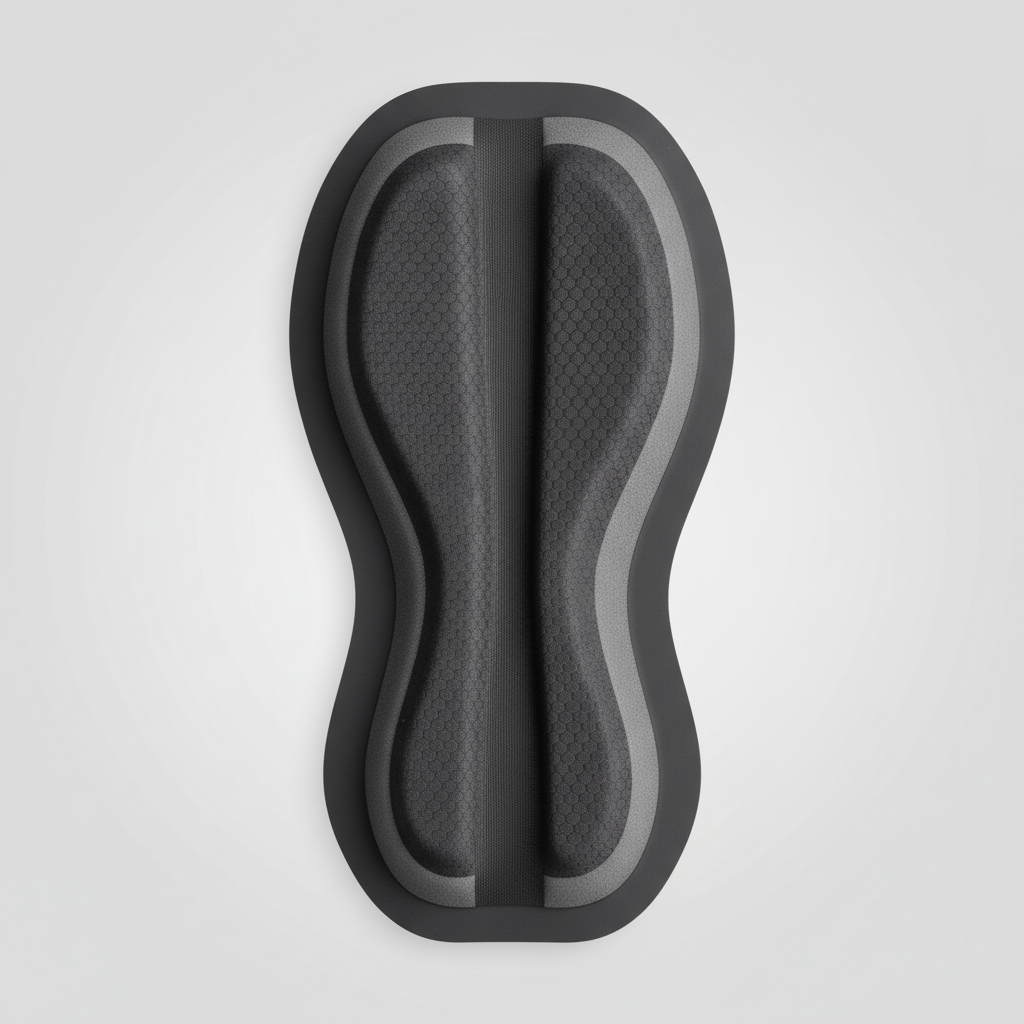
Pad density beats pad thickness
Thickness looks comforting on a product page, but density and support matter more on longer rides. Softer foam can feel great standing still, then compress and stop protecting you once you’re moving.
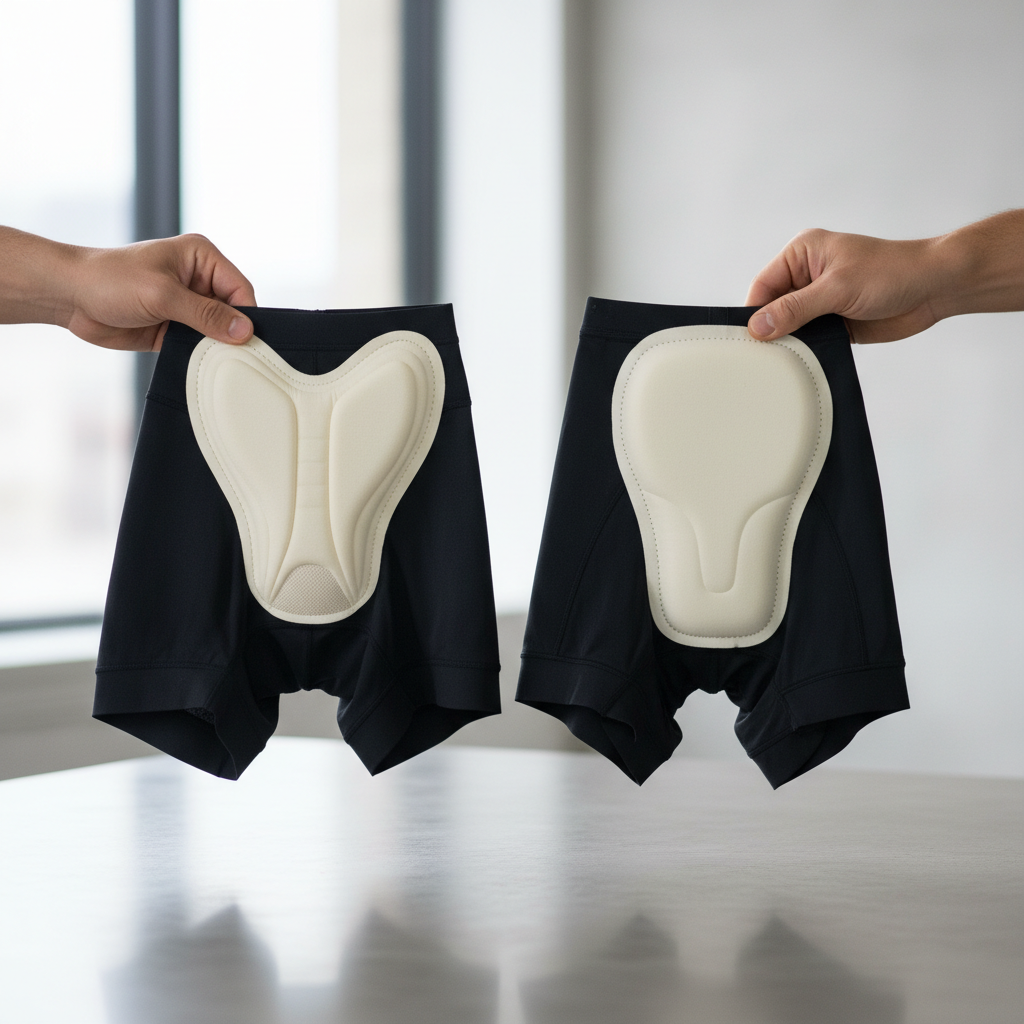
Shape and channeling
Look for a pad that matches your riding posture. A more aggressive road position tends to need support slightly forward, while upright riding often needs support farther back. Many pads use a center channel to reduce pressure; whether it helps depends on your anatomy and saddle.
Edge finishing
Well-finished edges reduce the “pad line” effect, where the edge rubs like a tiny curb. If you tend to chafe at the inner thigh crease, this detail matters a lot.
Fit rules: snug, stable, and no moving parts
Padded cycling underwear should fit like a second skin. If it shifts, you get friction; if it bunches, you get pressure points.
- No wrinkles in the pad area when you’re standing and when you hinge forward into a riding posture.
- Leg openings stay put without digging. Silicone grippers can help, but good patterning matters more.
- Waistband sits flat and doesn’t roll when you bend at the hips.
- Pad stays centered under your sit bones when you walk around and do a few high-knee steps.
A quick reality check, if the underwear feels “comfy loose” in the dressing room, it may move around on the bike. Many riders end up happier sizing for a supportive fit, as long as circulation feels normal.
Fabric and seams: the quiet difference between okay and great
On hot rides, fabric choice can make the difference between finishing comfortably and counting minutes until you can get off the saddle.
- Breathable synthetics (nylon/poly blends with elastane) are common because they wick and dry faster than cotton.
- Avoid cotton for riding in many cases, it holds moisture, increases friction, and can feel heavy.
- Flatlock or bonded seams reduce ridge rubbing. If you have sensitive skin, this is not a “nice to have.”
- Antimicrobial treatments can help odor control, but they don’t replace washing and drying promptly.
According to the American Academy of Dermatology Association (AAD), friction plus moisture can worsen irritation, so moisture management and reducing rubbing typically help prevent rash.
Choose by riding style: road, gravel, commuting, indoor
This is where “how to choose padded cycling underwear” gets practical. The best choice depends on how long you sit, how much you move, and what you wear over it.
Road rides (1–4 hours)
Many road riders prefer padded bib shorts for stability, but padded underwear can work under looser shorts if it fits very snug and the pad is supportive.
Gravel and mixed terrain
You shift around more, so pad stability and edge comfort matter. A pad with smoother transitions and durable fabric tends to hold up better against long, bumpy miles.
Commuting and casual riding
Look for less-bulky padding that feels normal off the bike, and fabric that dries quickly if you’ll be in it at work. Sometimes the “best” option is the one you’ll actually wear consistently.
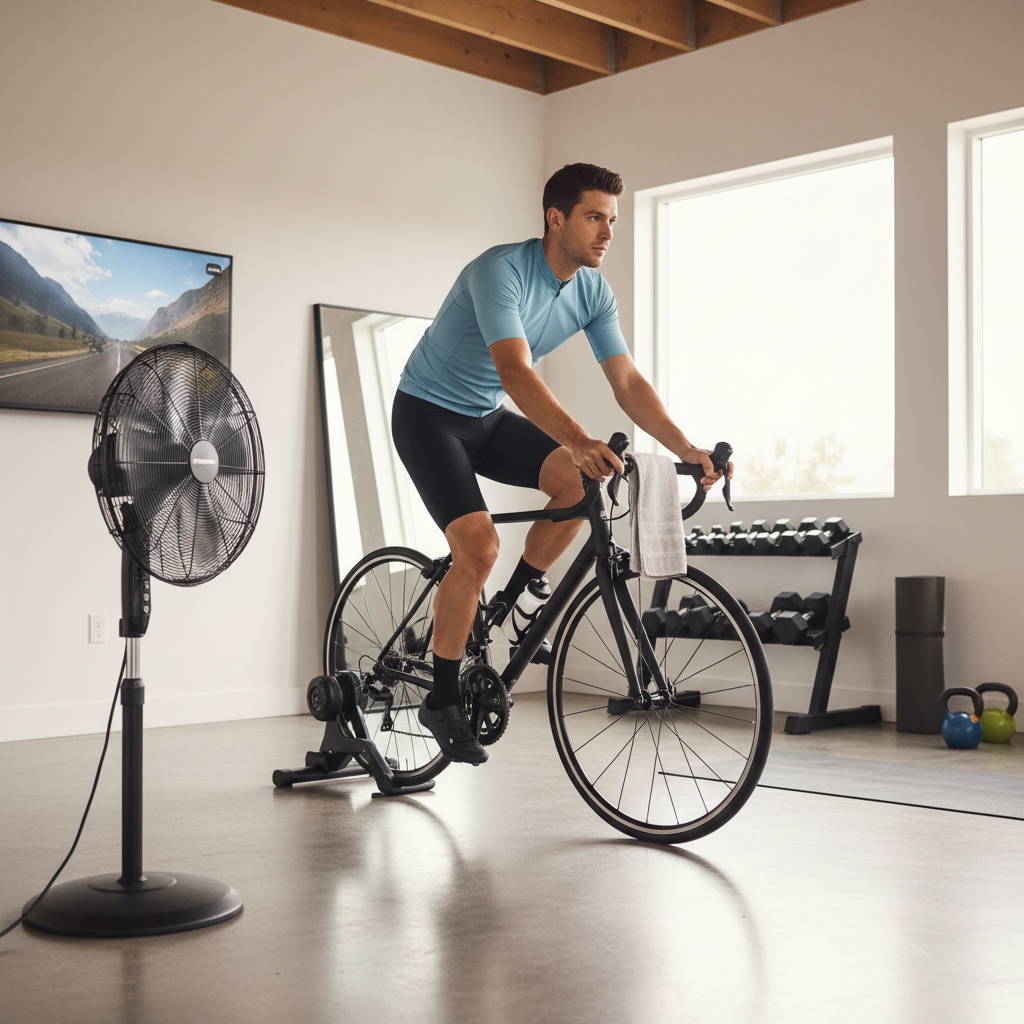
Indoor training
Heat builds fast, sweat doesn’t evaporate as easily, and you don’t get micro-breaks from coasting. Prioritize breathability, fast drying, and seams that don’t irritate when soaked.
Quick comparison table: what to buy for your scenario
If you want a fast way to narrow choices, use this as a starting point, then adjust based on your chafing history and climate.
| Scenario | Pad profile | Fabric priorities | What to avoid |
|---|---|---|---|
| Short rides & commuting | Low to medium bulk, flexible | Quick-dry, soft hand feel | Very thick pads that feel diaper-like off bike |
| 1–3 hour road rides | Medium bulk, higher density support | Breathable, stable stretch | Loose fit that allows pad shifting |
| Gravel & bumpy routes | Supportive, smooth edges | Durable knit, strong recovery | Rough seams near inner thigh crease |
| Indoor trainer sessions | Supportive but not overly thick | High wicking, fast drying | Cotton blends and slow-dry fabrics |
Self-check before you buy (and before you blame the underwear)
This is the quick checklist I wish more riders used, it saves money and a lot of second-guessing.
- Ride length: Under 60 minutes, you may not need heavy padding; over 2 hours, density and stability start to matter more.
- Current pain pattern: Numbness suggests pressure management, inner-thigh burn suggests friction and seams.
- Your outer layer: Loose shorts can drag and move the underwear, tight shorts tend to keep everything stable.
- Saddle condition: A worn or poorly shaped saddle can overwhelm any pad.
- Hygiene routine: If you re-wear gear or stay in sweaty underwear after riding, irritation risk climbs.
If you keep failing with multiple pads, that often signals a bike fit or saddle mismatch more than a product problem. It’s frustrating, but it’s also solvable.
How to dial in comfort: practical steps that work
You can do a lot without overcomplicating things. The goal is fewer variables, then small changes.
Step 1: Test fit at home in riding posture
Try the underwear under your usual riding shorts, hinge forward, do a few slow air-squats and high-knee steps. If the pad creeps or folds now, it will get worse on the bike.
Step 2: Pair it with the right outer layer
For padded underwear, a slightly more compressive outer short often improves stability. Baggy shorts can work, but you want minimal fabric drag.
Step 3: Use chamois cream only when it matches the problem
For friction-prone skin, chamois cream can help. For pressure pain, cream usually won’t fix it. If you have sensitive skin, patch test first and consider fragrance-free options.
Step 4: Wash promptly and dry fully
Most pads perform best when clean and fully dry. Leaving sweaty gear in a bag tends to create a cycle of irritation and odor that feels impossible to escape.
Common mistakes (they’re more common than brands want to admit)
- Doubling padding by wearing padded underwear under padded shorts, this often creates bunching and more pressure.
- Choosing “maximum cushion” for long rides, thicker can trap heat and shift, and sometimes worsens numbness.
- Ignoring seam placement until it’s too late, if the seam sits in a high-rub zone, it won’t “break in.”
- Wearing underwear under the padded underwear, extra layers usually increase friction and hold sweat.
- Assuming one pair should fit every ride, many riders end up with a lighter option for short rides and a more supportive option for long days.
When to get help (and what kind of help actually helps)
If you get persistent numbness, tingling, sores, or pain that lasts after your ride, it’s smart to slow down and reassess. In many cases, a professional bike fit can identify saddle height, tilt, reach, or saddle width issues that padding cannot solve.
If you develop skin breakdown, recurrent saddle sores, or signs of infection, consider speaking with a healthcare professional. Comfort products can support prevention, but they should not replace medical advice when symptoms escalate.
Key takeaways
- Support and stability beat thickness for most riders and most ride lengths.
- Snug fit prevents chafing because the pad stays put and seams stop drifting.
- Match the pad to your ride style, commuting needs differ from gravel or indoor training.
- If multiple options fail, look at saddle and fit rather than buying a fourth “miracle pad.”
Choosing padded cycling underwear is less about finding a magic model and more about matching pad support, fit, and fabric to your body and ride type. If you want one actionable next step, pick one pair that fits snug, with a supportive medium-profile chamois, then test it on a familiar 45–60 minute route before committing to longer rides.
If you’re trying to simplify the process, bring your saddle model, typical ride duration, and your main discomfort pattern to a local bike shop or fitter, you’ll usually get a faster answer than guessing online.