
how to replace bike handlebar grips comes down to two things: getting the old grips off without damaging your bar or controls, then installing the new grips so they do not twist or creep on rides.
If your hands go numb, your grips feel slick in rain, or you keep re-tightening a lock-on collar, this is one of those small maintenance jobs that can quickly change how a bike feels. It also helps prevent surprises like a grip spinning when you pull hard on a climb.
I will walk you through the common grip types, a quick decision checklist, and a few installer tricks that matter in real garages, not just in perfect tutorial videos.
Identify what you are working with (it changes the method)
Before you pull anything, look at how your grips are secured. Most “this won’t come off” moments happen because the grip style gets misread.
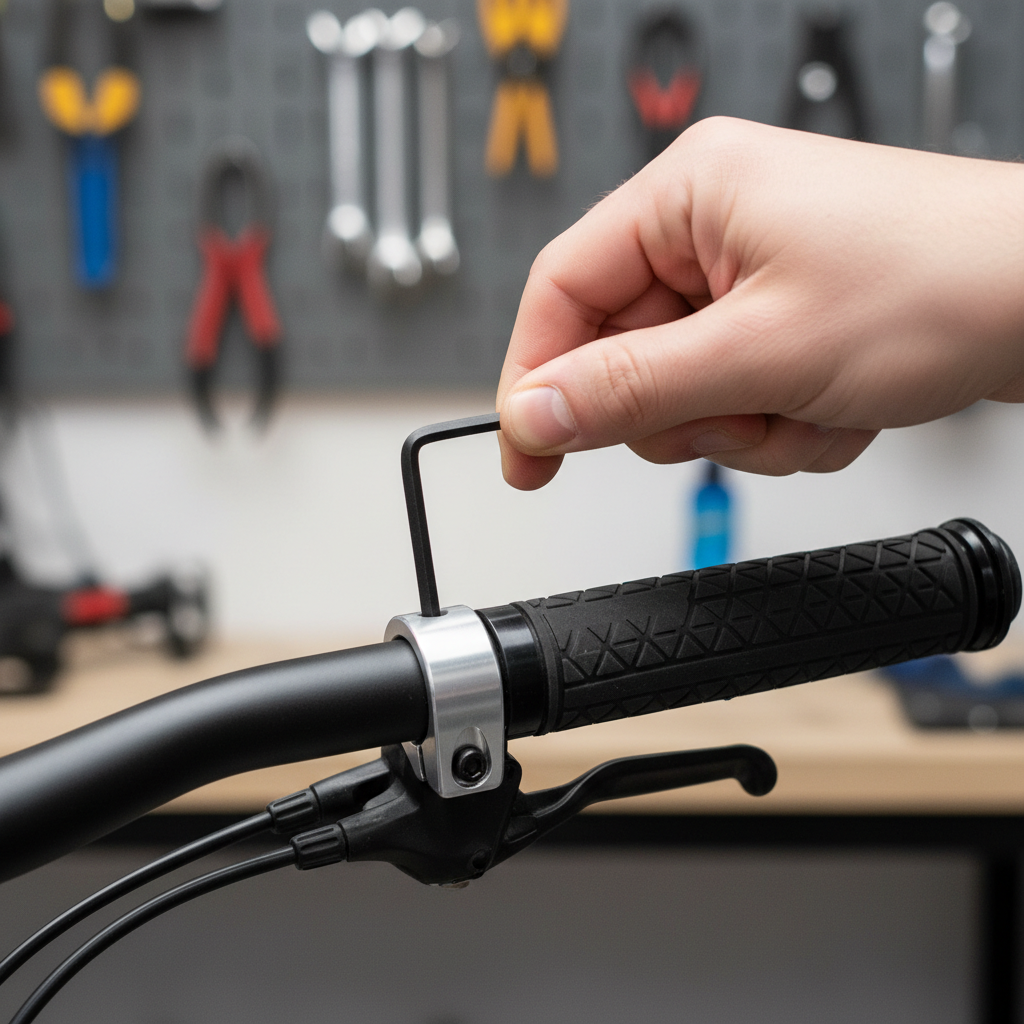
- Lock-on grips: metal or composite collars at one or both ends, usually tightened with a small hex bolt.
- Slide-on (push-on) grips: no bolts, they rely on friction, sometimes with adhesive from the factory.
- Grip-shift or integrated shifter grips: older twist shifters can integrate the grip, removal often affects the shifter setup.
- Drop-bar tape: not a “grip,” but often searched together; tape replacement is a different process.
Also check your bar diameter. Most flat bars use 22.2 mm at the grip area, while some specialty bars may differ. If you order the wrong size, installation becomes a wrestling match.
Why grips get stuck, spin, or wear out so fast
Grips usually fail in predictable ways, and the fix depends on which problem you actually have.
- Twisting or creeping: common on slide-on grips when the bar is glossy, contaminated with chain lube, or the grip is slightly oversized.
- Hard, shiny surface: rubber compound aging, sun exposure, and skin oils; comfort drops and vibration feels worse.
- Tearing at the ends: frequent crashes or the bar end scraping walls and racks, sometimes missing bar plugs.
- Numb hands: not always a grip issue, sometimes saddle position or bar sweep, but grips can contribute.
According to NHTSA, cyclists should use properly fitted equipment and perform basic bicycle maintenance to reduce the risk of crashes related to equipment issues. A grip that can rotate under load is a small part, but it can create a big problem at the wrong moment.
Quick self-check: do you need replacement or just a re-fit?
If you are not sure whether to replace, this checklist saves time and money.
- Grip rotates when you pull hard on the bar, even after cleaning and tightening.
- Visible cracks, tearing, or chunks missing.
- Persistent slick feeling when wet, even after washing.
- End plugs missing or cannot stay in place.
- Hand pain improves when you ride another bike with different grips.
If the grip is basically fine but spinning, you may only need a clean reinstall. If it is torn or hardened, replacement is usually the better use of effort.
Tools and supplies (what actually matters)
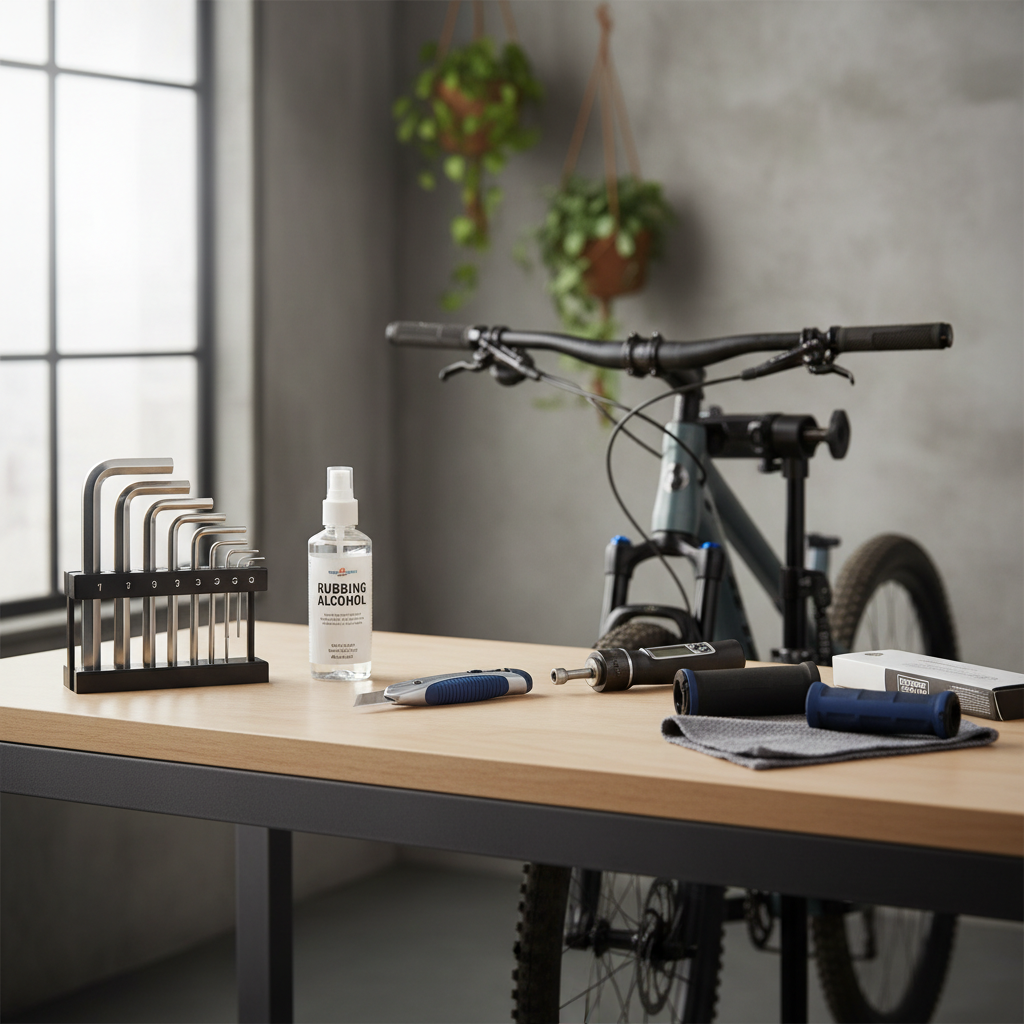
You do not need a full shop kit, but the right couple of items makes this smooth.
| Item | Best for | Notes |
|---|---|---|
| Hex keys (Allen) | Lock-on grips | Most collars use 2.5–4 mm, check before forcing. |
| Isopropyl alcohol | Slide-on removal and install | Helps release grips, then evaporates, leaving a clean bond. |
| Compressed air (optional) | Slide-on removal and install | Fast and clean if you have a compressor or air gun. |
| Utility knife (last resort) | Stuck, worn slide-on grips | Cut away from your body, avoid carbon bars and cables. |
| Torque wrench (nice to have) | Lock-on collars | Prevents stripping bolts or cracking a collar, follow maker specs. |
Avoid using oil-based lubricants for slide-on grips. They can keep grips sliding for days, sometimes longer, especially in heat.
Step-by-step: remove old grips (lock-on vs slide-on)
Lock-on grips
- Shift the bike into a stable position, wheel straight, bar centered.
- Loosen the collar bolt or bolts, do not remove them unless needed.
- Twist the grip gently and pull off.
- Wipe the handlebar clean, especially near the ends where grime builds.
If a lock-on grip still feels stuck, it is often caught on a burr at the bar end or jammed against a brake clamp. A small outward slide of the brake lever clamp can create clearance.
Slide-on (push-on) grips
- Lift the edge of the grip with a thin plastic tire lever or a blunt flat tool.
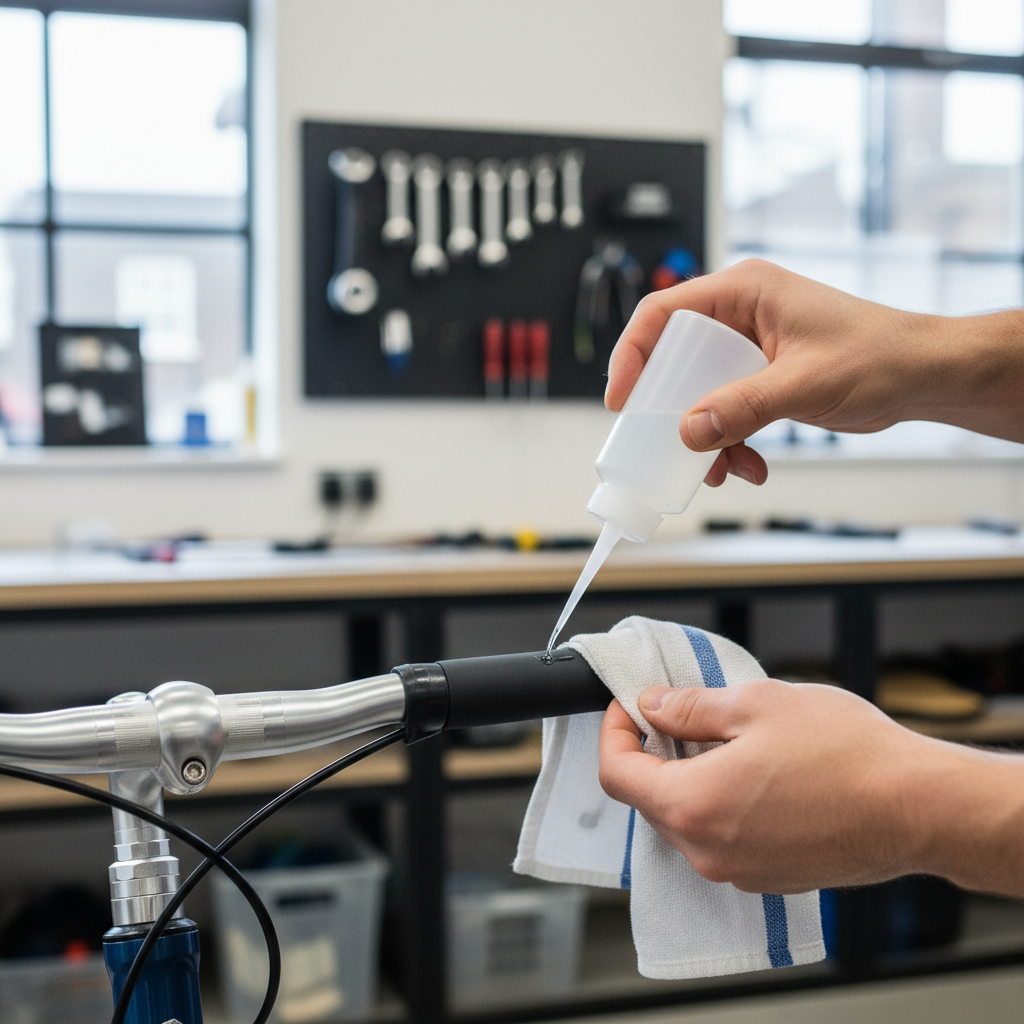
- Drip a small amount of isopropyl alcohol under the grip and work it around by twisting.
- Pull while twisting, slow and steady usually beats brute force.
- If you have compressed air, aim the nozzle under the edge and “float” the grip off.
If the grip is trash and refuses to budge, a careful lengthwise cut can be the cleanest exit. Use extra caution on carbon handlebars, and if you feel unsure, a bike shop can remove it quickly without risking the bar.
Install new grips so they stay put (and feel right)
The “right” position is personal, but you can avoid the common mistakes that make a new setup feel off.
Prep the bar and controls
- Clean the bar with alcohol to remove sweat residue and any lubricant.
- Inspect the bar ends for sharp edges, add or replace bar plugs.
- Confirm levers and shifters sit where you want them before final tightening.
According to Park Tool, keeping contact surfaces clean and using the manufacturer’s recommended torque on clamps helps prevent slipping and damage. This applies to levers and grip collars alike.
Lock-on grip installation
- Slide the grip on until it seats fully, do not trap cables or housing.
- Align the grip pattern or ergonomic wing where your palm naturally lands.
- Tighten collar bolts evenly, especially on dual-collar models.
- If you have a torque spec from the grip maker, follow it rather than guessing.
Key point: if the collar bottoms out but the grip still spins, the grip may not match your bar diameter or the collar bolt may be stripped.
Slide-on grip installation
- Pour a small amount of alcohol inside the grip, swirl, pour out excess.
- Push the grip on in one steady motion, slight twisting helps.
- Set the final angle quickly, alcohol flashes off fast.
- Let it dry before a hard ride, many people wait 15–60 minutes depending on climate.
Some riders use hair spray as a light adhesive, and it can work, but results vary by brand. If you want predictable behavior, alcohol is the more consistent choice.
Real-world fit tips: comfort, wrist angle, and control reach
When people search how to replace bike handlebar grips, they often mean “my bike feels wrong lately.” Grips can help, but only if the cockpit is close to neutral.
- Brake lever angle: many riders run levers too flat; a slightly downward angle often keeps wrists straighter when standing.
- Ergonomic grips: wings should support the heel of your palm, not force your wrist outward.
- Grip length: check shifter style, some setups require short grips on one side.
- Gloves vs no gloves: thicker gloves can make a small grip feel too fat, or fix a too-thin grip.
If numbness or tingling persists, it may relate to fit, riding posture, or nerve compression. In that case, consider a professional bike fit or ask a qualified medical professional for advice.
Common mistakes that waste time (and how to avoid them)
- Over-lubricating slide-on grips: too much liquid can keep grips moving, use just enough to slide.
- Cutting toward carbon: carbon bars can be damaged by a blade nick, avoid cutting unless you are confident.
- Ignoring bar plugs: missing plugs can tear grips and create a sharp impact point in a crash.
- Cranking lock-on bolts: stripped bolts and cracked collars happen, tighten with restraint, use torque guidance when available.
- Installing on dirty bars: sweat film and old adhesive reduce grip security.
If your new grips still twist after careful installation, the bar may be undersized, damaged, or heavily polished, and a shop can help you decide whether a different grip model or a new bar solves it.
Conclusion: a small job that pays off every ride
how to replace bike handlebar grips is mostly about matching the technique to the grip type, cleaning the contact area, and taking an extra minute to align your controls so your wrists stay happy.
Pick one action today: either inspect your current grips for spin and cracks, or set up a quick replacement session with alcohol, hex keys, and fresh bar plugs. Your hands will notice the difference sooner than you think.