
How to wrap cycling gifts creatively usually comes down to two things people forget until the last minute, odd shapes and fragile parts. Jerseys are easy, but a bike computer, a saddle, or a set of pedals can turn “quick wrap” into a tape-and-rage situation.
The good news is you don’t need fancy supplies or pro-level craft skills, you need a plan that matches the gift. Once you pick the right method, wrapping becomes simple, and the unwrapping moment still feels special.
This guide focuses on practical, good-looking approaches for real cycling gifts, plus a quick decision checklist, a table of what works best, and a few “don’t do this” notes that save you from crushed boxes and bent rotors.
Pick the wrapping strategy that fits the gift (not the other way around)
Most wrapping fails because we treat every cycling item like a shoebox. Cycling gifts often have sharp edges, grease risk, awkward geometry, or expensive electronics that deserve a little protection.
Here’s a quick table to match common gifts with a wrapping approach that looks intentional and keeps the item safe.
| Gift type | What can go wrong | Wrap that works | Extra tip |
|---|---|---|---|
| Jersey, socks, gloves | Looks flat, “too easy” | Fold + tissue + ribbon band | Add a small tag with ride plans |
| Helmet | Paper tears, shape fights you | Gift bag + tissue “nest” | Use a rigid bag, not thin paper |
| Pedals, tools, chain lube | Grease stains, pointy corners | Box it first, then wrap | Put items in a zip bag inside |
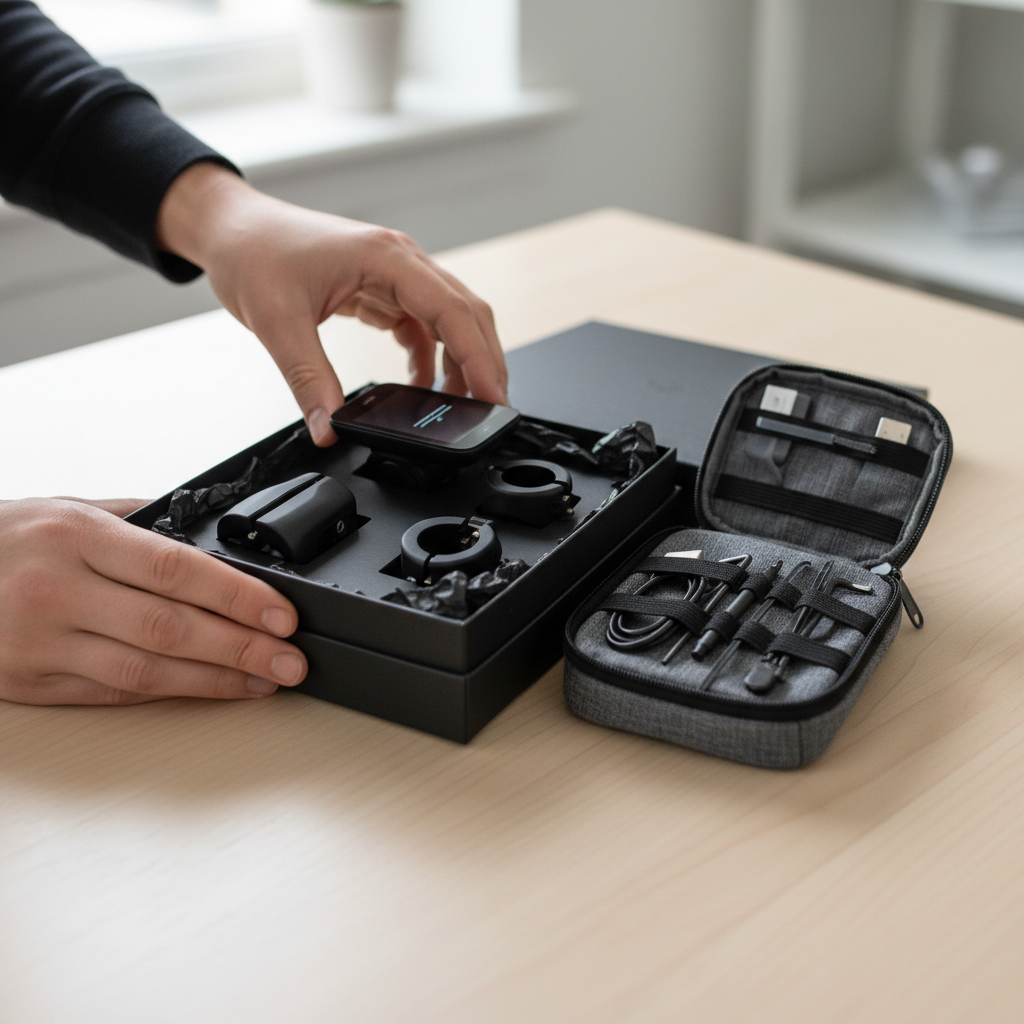
| Bike computer, lights | Crushed packaging, lost parts | Small box + padded filler | Keep manuals and mounts together |
| Water bottles, cages | Slides around, dents | Tube wrap (cylinder style) | Use corrugated wrap under paper |
| Saddle | Nose pokes through paper | “Candy wrap” ends + padding | Pad the nose with extra tissue |
| Gift card / race entry / fit session | Feels impersonal | Mini kit bundle (tag + tiny item) | Add gels, a patch kit, or socks |
A fast self-check: what kind of cycling gift are you wrapping?
If you want how to wrap cycling gifts creatively to feel effortless, decide which category you’re in before you touch the paper.
- Soft + foldable (apparel, caps, buffs): you can make it look premium with clean folds and a band.
- Hard + boxy (electronics, sunglasses, pumps): protect corners, avoid crushing, and keep accessories together.
- Hard + weird shape (helmets, saddles, bottles): bag wrap or “tube/candy” wrap beats fighting flat paper.
- Messy risk (lube, sealant, degreaser): always seal, then box, then wrap.
- Experience gift (lessons, bike fit, event entry): needs a physical “anchor” so it doesn’t feel like an email.
One more honest check, will the gift be opened near carpet, a couch, or someone in nice clothes? If yes, plan for stray glitter, leaking bottles, and greasy parts, because cycling gear can be surprisingly grimy.
Creative wrapping ideas that actually feel “cycling” (without looking cheesy)
Theme matters, but subtle usually wins. A few small choices can signal “this is for a rider” without screaming novelty.
1) The “handlebar tape” band
Wrap the box in simple kraft paper, then add a band around the middle using a strip of textured paper or ribbon in a bar-tape color, black, white, or a bright accent like red. Finish with a clean knot, not a huge bow.
2) Map wrap for local routes
If you have an old printed map (or a route printout you don’t mind using), wrap a small box with it. Add a tag that references a favorite climb or coffee stop. Keep it tasteful, and don’t use a map someone still needs.
3) Race-bib numbers as gift tags
Unused or old bibs make great tags. Trim to a small rectangle and punch a hole. It’s personal, and it doesn’t require extra design work.
4) “Mini kit bundle” for experience gifts
If you’re gifting a bike fit, coaching session, or event entry, attach the card to a small item like socks, a patch kit, or a couple gels, then wrap that bundle. The gift feels real in the hand, which helps.
Step-by-step: wrapping common cycling gifts (3 reliable methods)
When people search how to wrap cycling gifts creatively, they often want something they can execute quickly without wrecking paper. These three methods cover most cycling items.
Method A: Box-it-first (best for pedals, tools, messy items)
- Contain: put anything greasy or liquid in a sealed zip bag.
- Stabilize: add paper filler so it doesn’t rattle.
- Rebox: use a plain rigid box if the retail packaging feels flimsy.
- Wrap clean: crisp edges, minimal tape, one statement ribbon or twine.
Practical note, if the person might return or exchange the item, avoid taping directly to the retail packaging.
Method B: Bag + tissue nest (best for helmets and awkward shapes)
- Choose a bag that’s slightly bigger than the item, not huge.
- Add a thick tissue “nest” at the bottom so the gift sits centered.
- Place the item, then tuck tissue around it so it doesn’t slide.
- Finish with a tag and a tight knot, the bag does the heavy lifting.
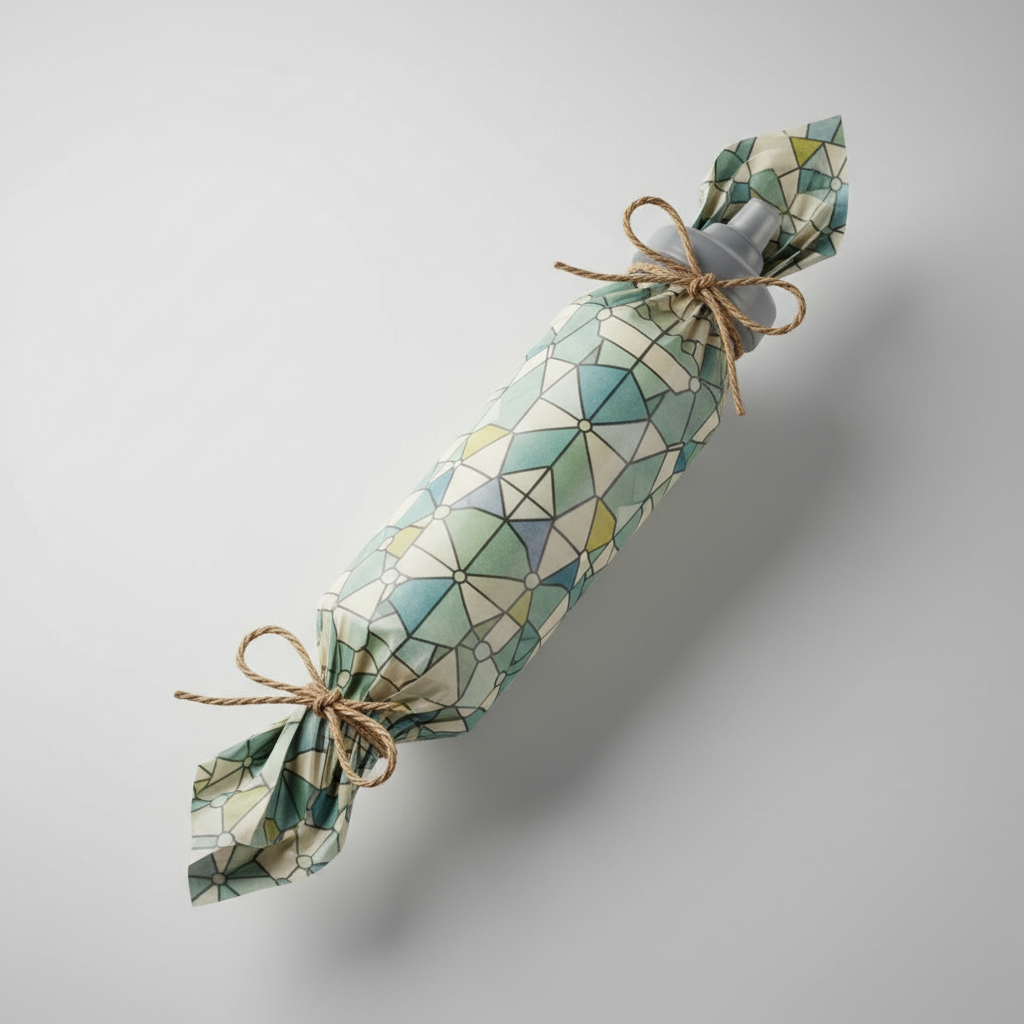
Method C: Tube wrap (best for bottles, cages, mini pumps)
- Lay the item on the paper diagonally, roll into a tube.
- Tape the seam once, then twist and tie both ends like a candy wrap.
- For dent-prone items, add a layer of corrugated paper or bubble wrap underneath.
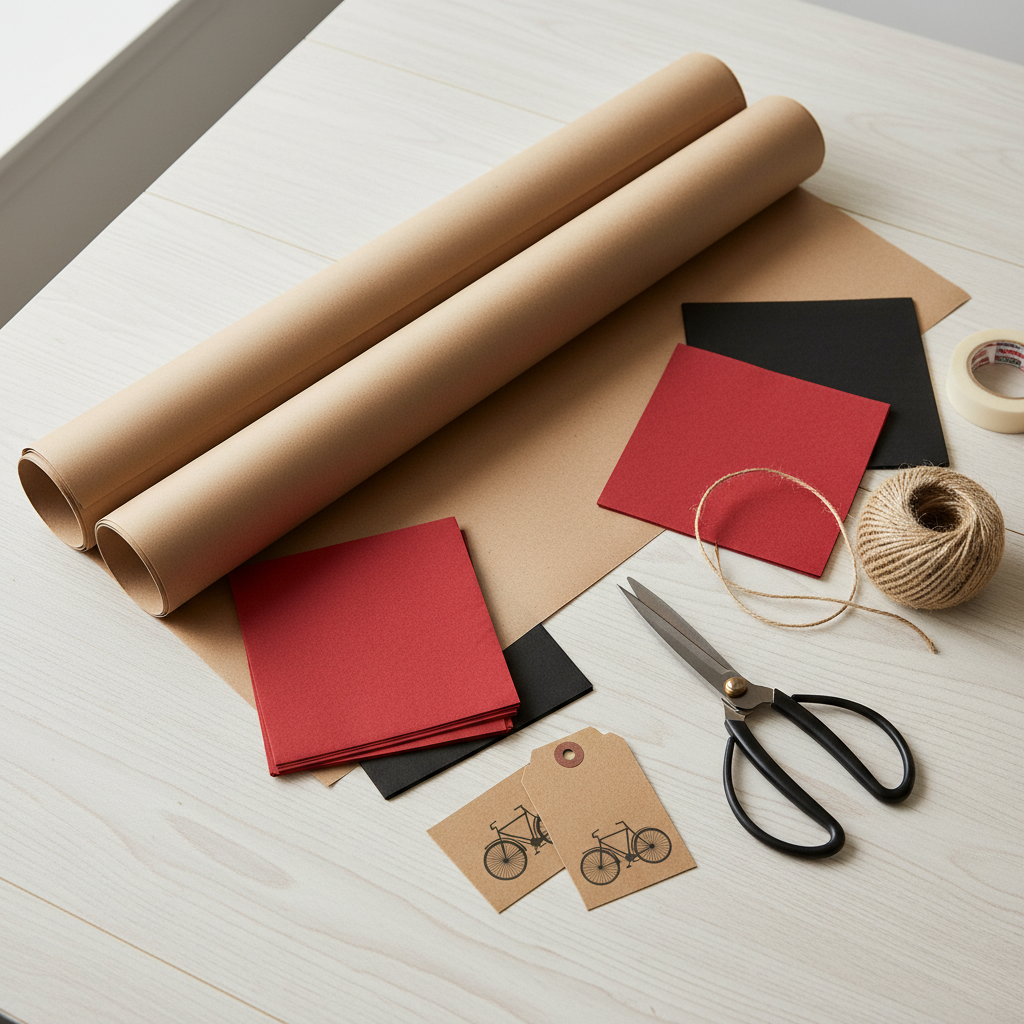
Materials that make wrapping easier (and why cyclists usually appreciate them)
You can wrap with whatever you have, but a few materials pull extra weight because cycling gifts can be sharp, heavy, or oddly shaped.
- Kraft paper: hides tape lines, forgives mistakes, feels “gear-ish.”
- Tissue paper: doubles as padding for electronics and helmet vents.
- Twine or thin ribbon: holds shape without huge bows getting crushed.
- Small rigid boxes: saves you from wrapping five separate accessory parts.
- Zip bags: unglamorous but clutch for sealant, lube, or greasy hardware.
If you’re mailing the gift, build in more protection than you think. According to USPS, proper cushioning and strong outer packaging help prevent damage during shipping, which matters a lot for electronics and anything with sharp edges.
Common mistakes that ruin the “wow” moment (even with great gifts)
- Wrapping sharp parts without padding: pedal corners and multi-tools will slice paper, and it looks sloppy fast.
- Overusing tape: it screams panic, and it makes unwrapping annoying.
- Letting small parts roam: mounts, chargers, bolts get lost, then the gift feels incomplete.
- Ignoring grease/liquid risk: many cycling items are clean until they aren’t, double-bag anything questionable.
- Going too “bike pun”: one small bike-themed element looks classy, ten looks like a party store aisle.
When it’s worth getting help or upgrading the wrap
If the gift is expensive or fragile, think carbon parts, high-end sunglasses, a power meter, it can be worth asking a local bike shop to rebox it safely, especially if you’re shipping. Many shops already have the right sized boxes and padding, and they’ll often do it quickly if you’re polite and it’s not peak chaos in the store.
For safety-related items like helmets, avoid “creative” wrapping that compresses the foam or straps for long periods. If you’re unsure whether the packaging pressure could cause damage, a gift bag approach tends to be safer, and if questions come up, asking the manufacturer or a shop is reasonable.
Key takeaways you can use right now
- Match the method to the shape, box-it-first, bag nest, or tube wrap solves most problems.
- Protect before you decorate, especially for sharp or greasy cycling gear.
- Keep it subtle, one cycling-themed detail usually lands better than a full novelty wrap.
- Make experience gifts tangible by bundling with a small “kit” item.
Conclusion: make it look thoughtful, not complicated
If you’ve been overthinking how to wrap cycling gifts creatively, the fix is surprisingly simple, stop forcing everything into a flat-paper approach. Pick a method that respects the item, add one clean cycling nod, and keep the unwrapping experience easy. Your next move, choose the category from the self-check above, then commit to one of the three wrapping methods and you’ll be done faster than you expect.
FAQ
What’s the easiest way to wrap a helmet as a gift?
A sturdy gift bag with a tissue “nest” is usually the least frustrating and looks intentional, you avoid torn paper and you don’t compress the helmet the way tight wrapping sometimes can.
How do I wrap cycling gifts creatively without buying special supplies?
Use plain kraft paper, twine, and a single themed tag, like a route note or an old race bib piece. The creativity comes from the small personal detail, not expensive materials.
Should I wrap a bike computer in its retail box or rebox it?
If the retail box is sturdy and you’re handing it over in person, wrapping it directly can be fine. If you’re shipping or the box feels thin, a small rigid outer box with tissue padding reduces crush risk.
How can I wrap pedals or tools without the paper ripping?
Box them first and add padding around corners. Even a layer of tissue under the wrap makes a big difference, and it keeps the wrap looking clean instead of jagged.
What’s a good way to gift wrap a cycling gift card so it feels personal?
Pair the card with a small item the rider will actually use, socks, a patch kit, a couple gels, then wrap the bundle. It reads as thoughtful instead of last-minute.
Can I use duct tape or electrical tape for a “bike” theme?
You can, but it often looks messy and can damage paper or packaging when removed. If you like the look, use a narrow strip sparingly as an accent, not as the main adhesive.
Any tips for wrapping cycling gifts for mailing?
Prioritize protection over pretty, seal liquids, immobilize parts, and use a strong outer box with cushioning. Pretty wrapping can go inside the shipping box so it arrives intact.
If you’re wrapping for a serious rider and you want the gift to feel premium without spending your whole night on it, pick one method from this guide and standardize your materials, a roll of kraft paper, tissue, twine, and a few small boxes cover most cycling presents with very little stress.